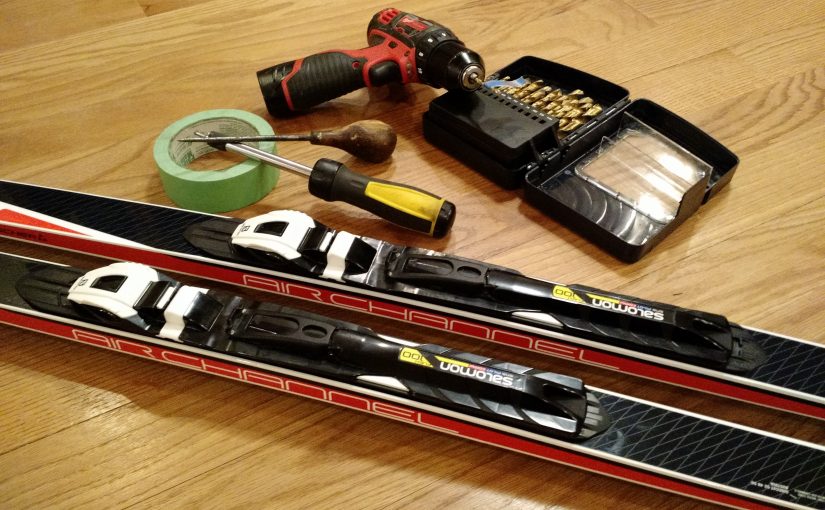
There is no shortage of articles and videos about installing SNS bindings onto skis. I watched a few such videos, and all of them were missing precision. Some said that the binding needs to be aligned at the ski’s balance point, others – 1 cm behind it. Most instructions don’t specify the drill bit diameter, and those that do, disagree with each other. It took me a while to locate the official word on installing the bindings.What you are looking for is a PDF file called Salomon Technical Manual Nordic. I only found the 2011 edition in a downloadable form, but there is a 2014 edition that can only be viewed in the browser. I am sure that the main concepts stay constant year to year. For example, all bindings in the 2011 edition are specified to have screw diameters of 6.3mm.
I am not going to duplicate the information found in many other online instructions, but will concentrate on what I thought was missing from them. My takeaway from reading the PDF were two points below.
Binding Alignment Relative to Balance Point
The binding needs to be aligned 1 cm behind the balance point of the ski, not on the balance point, like many online instructions recommend. One explanation of this that I found was that this helps to keep the front of the ski to the snow when kicking. I have my own theory. The binding itself shifts the balance of the ski – there is more weight in the rear of the binding than in the front. I have mounted the bindings 1 cm behind the balance point, and after the binding is mounted, the balance point shifted exactly 1cm to the rear. Isn’t that pretty cool?!
Correct Drill Bit Size
The proper drill diameter for mounting Salomon SNS bindings is 3.6 mm, or, for us living in North America, 9/64″. Most instructions suggest using a smaller bit for a pilot hole, but I decided that the main bit is small enough and does not require a pilot hole.
I might get myself into trouble for redistributing this, but here is the PDF file that I used. Scroll down to the “bindings” section in the PDF.

Awesome thanks!!!
Glad this helped someone!
great tips. you answered questions none of the other posts covered.
three additional suggestions:
1. did one binding pilot hole and another without. more accurate with pilot hole because I used binding as a template and I could “eyeball” and drill small hole in center without risking damage to binding. Much better result for me.
2. if no template is available, best to loosely assemble binding that has multiple pieces (my salomon had three) and then center on ski. otherwise, even a small deviation on the front pieces (not initially visible) gets magnified when other pieces are added.
3. on my bindings, a #3 phillips screw driver worked very well. nobody should use the common #2 size because it is too small and can damage the head of the screws.Again, thanks for your tips.
Glad my post helped someone. Thanks for the additional tips, I agree about all three of them.
Use a #3 posidrive screw Driver or a PZ3 bit.
Helpful post! By mounting point, do you mean the location of the front of the binding, or the location of the slot where the front rod of the boot is inserted? Which should be 1 cm behind the balance point? Thanks again!
The alignment is relative to the pivot point, the slot for the rod to clip in. I mounted my bindings with that slot 1 cm behind the balance point.
Thanks for your kind words!
Perfect addition to the videos on-line
I used a pilot hole and I think it worked well.
I would also suggest after the final drill to trim the hole of any excess fibres. Do this by hand (not drill) by inserting the point of a large drill bit (~1/4″) and turning.
Do you have tips on removing the front screw under the Salomon Equipe Pilot binding with the rubber pull tab? I can’t get my screw driver under the binding. The year of these bindings are early 2000’s.
Hi, sorry, can’t help you with this. I am not sure what your issue is.