
I took a stab at a tubeless set-up for my Krampus wheels. Here is what I used:
- Surly Rabbit Hole rims
- WTB Ranger 3.0″ tires (fast casing)
- Surly woven nylon rim strip
- Gorilla tape
- Stan’s Schrader valves
- Stan’s Race sealant
- Park Tool VC-1 valve core removal tool
- Sprayer bottle with soapy water
- A 3 gallon air compressor
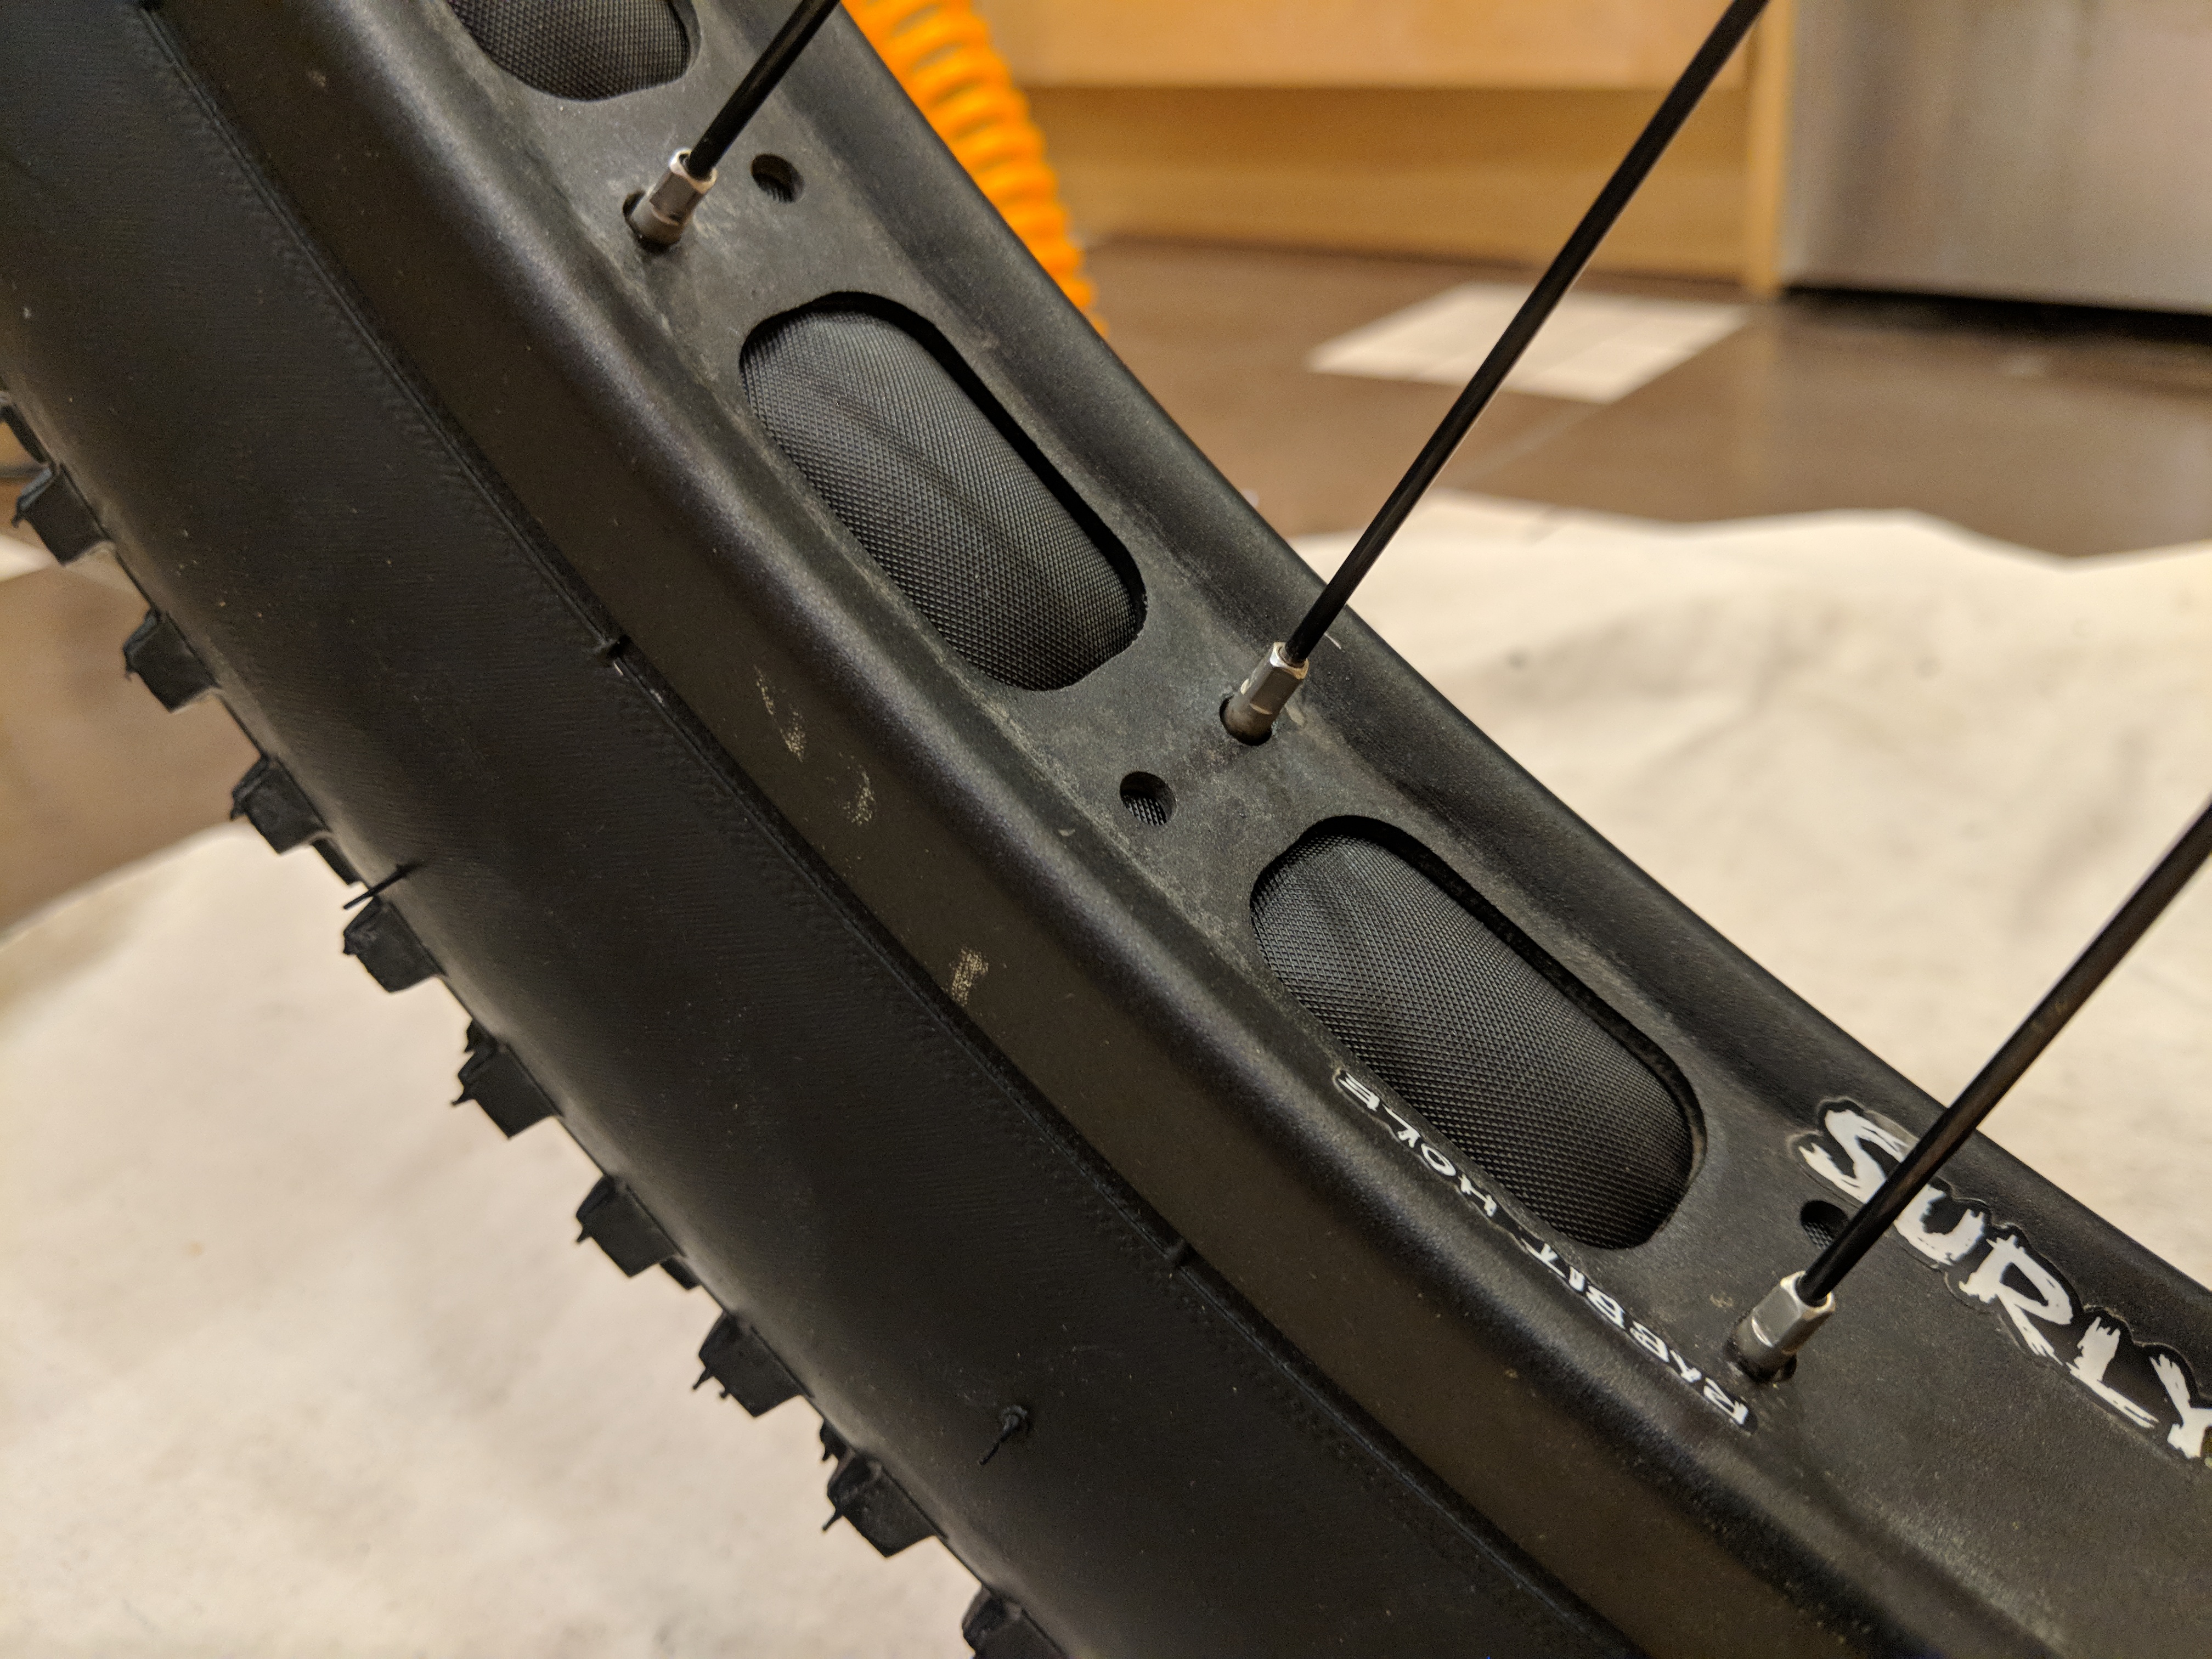
Surly recommends using the newer type nylon rim strip (rather than the older PVC type strip that used to be common with the Rabbit Hole wheels) for tubeless setup. The nylon strip is narrower than the PVC one, and has a smooth and a textured sides. I checked with Surly, and they recommend to install the rim tape with the smooth side facing inside the tire (and the textured side visible through the rim cutouts). This makes sense – the sealing tape will adhere better to the smooth side.
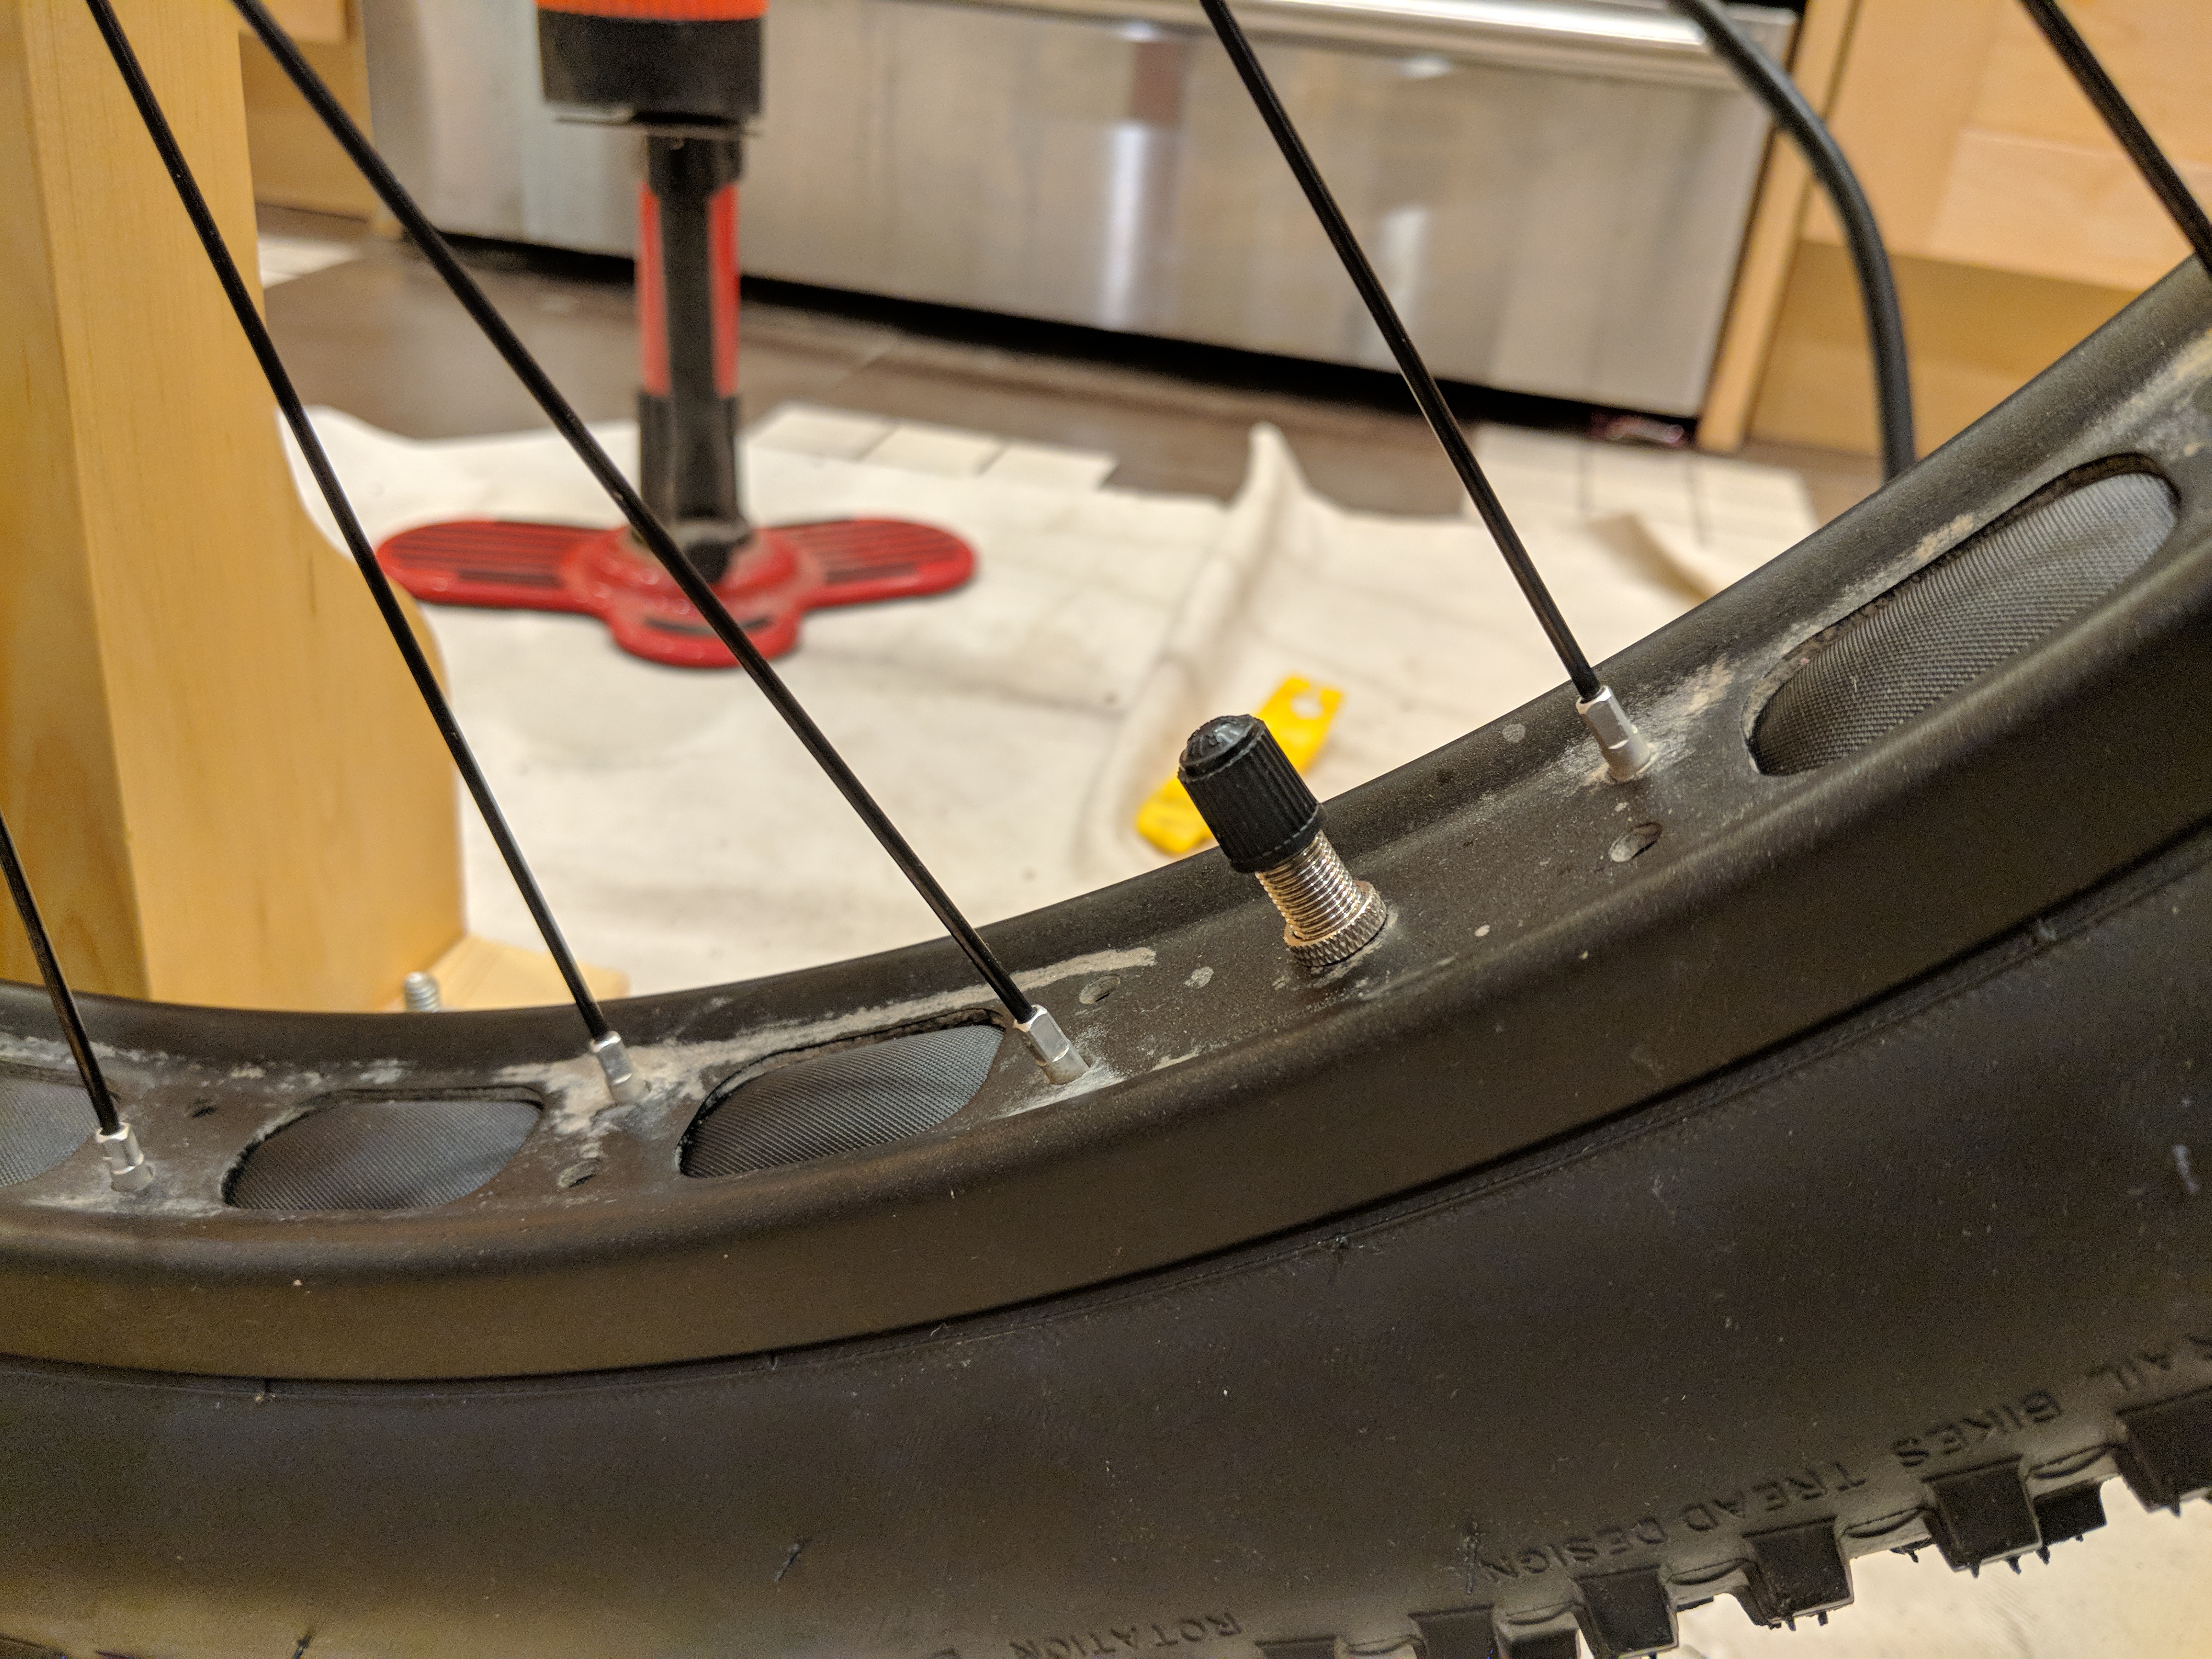
I prefer Schrader valves to Presta, so I enlarged the valve hole on the rims using a 5/16″ (8mm) size drill. Then I stretched the rim tape over the rim and checked and double-checked that it was centered well. After that, I wrapped two layers of Gorilla tape around the wheel. The standard 1.88″ (48mm) width Gorilla tape looks like it was made to fit inside the Rabbit Hole rim. It fits precisely between the rim walls, and takes a bit of finesse and patience to lay it just in-between the walls – there is no room for error. I started wrapping the tape from the side opposite the valve and went two times around the wheel. I then used a blunt pointy object to press the sides of the tape firmly to the rim, making sure there is no interference for the tire bead. Gorilla tape left a bit of adhesive on the rim, so I rolled it off by rubbing my finger over it.
I then used a knife to puncture a hole through gorilla tape to make room for the valve. I enlarged the hole carefully until it was wide and round enough for the valve to fit through. To install the valve, I applied pressure to the rubber part of the valve with my thumb, while tightening the valve nut, until I could no longer tighten it by fingers, at which point I turned it about half a turn with pliers.
I removed the valve core and sprayed some soapy water around the tire bead, and then inflated the tire with the compressor. The tire seated very easily, but when I let the air out, in some areas the tire bead got unseated and slid back towards the middle of the rim. I then took a small portion of the tire off the rim, poured 120ml of the Stan’s Race sealant into the tire, and then snapped the tire back onto the rim. I inflated the tire once more with the valve core removed, deflated, and re-installed the valve core. I then inflated the tire somewhat with the compressor, but then switched to the floor pump for more precision. I inflated the tire to 40 PSI to make sure it seats completely. There were encouraging popping sounds of the bead snapping onto the rim shelf.
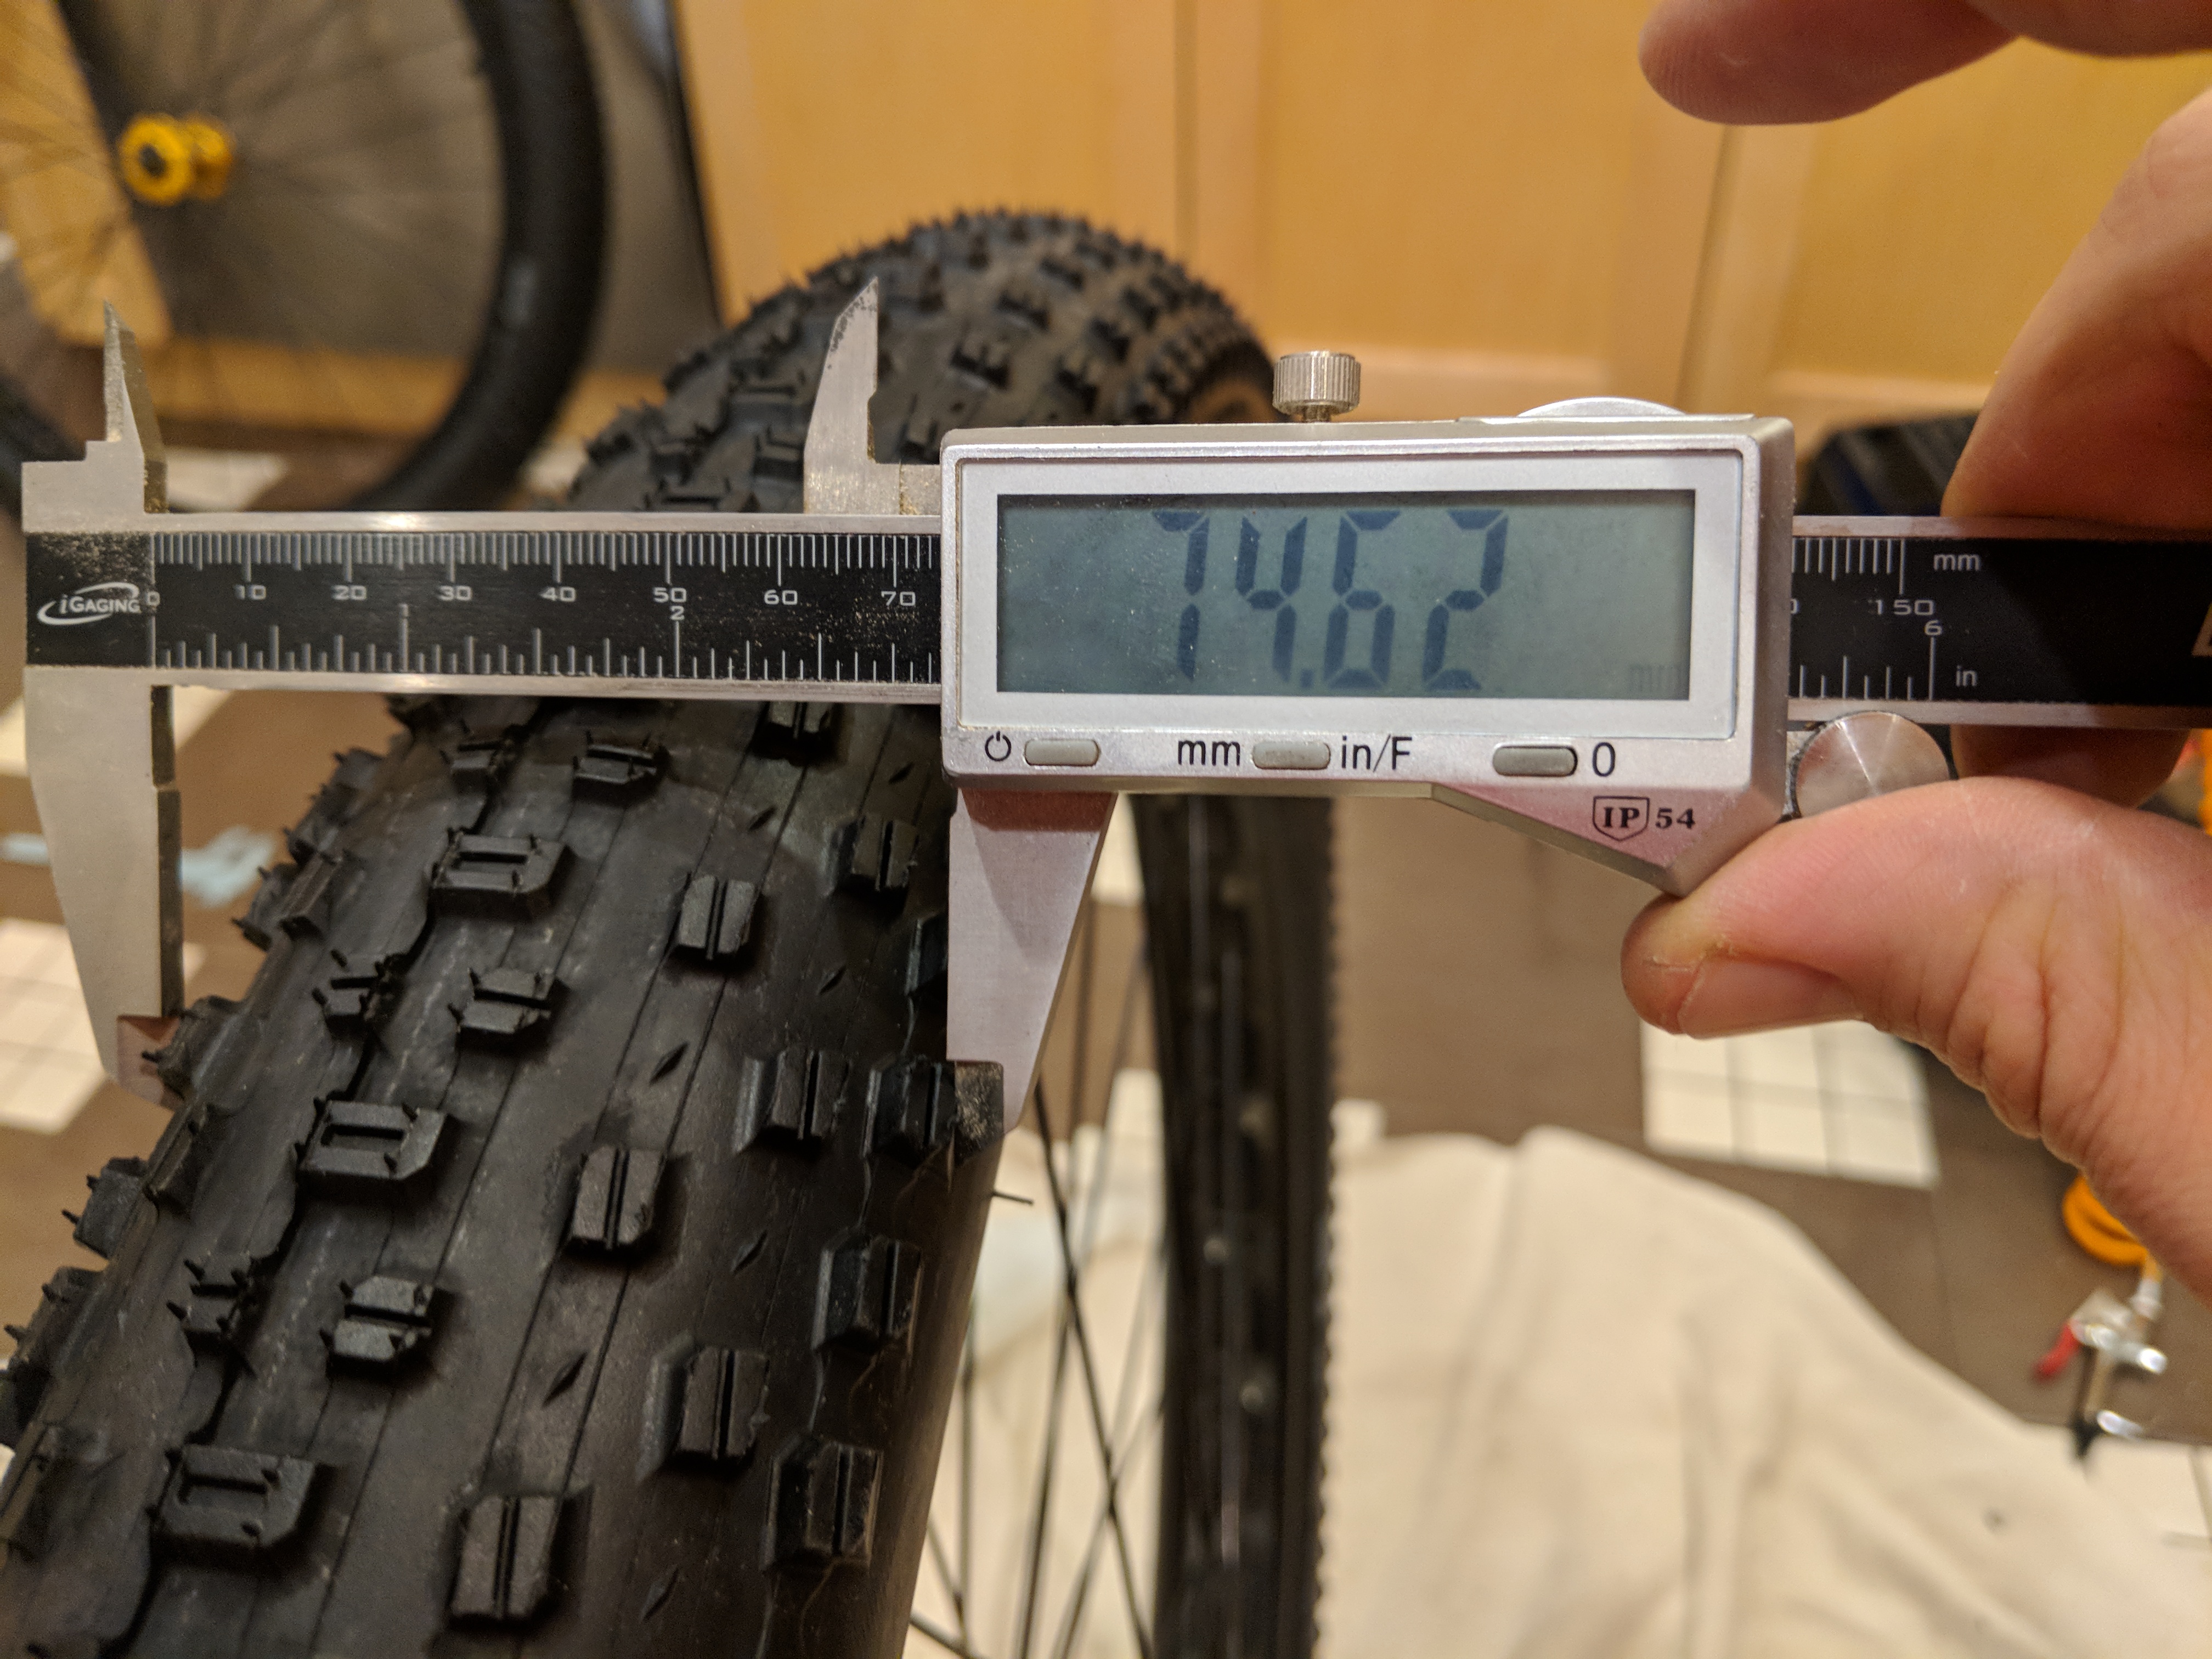
I then spun, shook, and waved around the wheel in an effort to spread the sealant inside it evenly. I saw no seepage on either of the two wheels, the set-up looked pretty air-tight right from the first attempt. Time will tell whether the setup will stay airtight for long, but it is looking very encouraging. The tire measures 74.6mm at its widest point, when inflated to 40 PSI.
Update a few days later
Both wheels lost about 3 PSI of pressure in the first 24 hours, then about 1 PSI per day for the next two days. I continued to shake the wheels occasionally to help spread the sealant inside the tires. Three days after the conversion, both wheels sealed completely and I could not measure any pressure loss over 24 hour period any more.
Update Four Months Later
Four months later, the set-up continues to work very well. It leaks a lot less air than a tube does, so I very rarely need to top it up. I have just added some sealant because Stan’s Race sealant recommends a more frequent maintenance than with the regular sealant. Contrary to instructions for the Race sealant, I added it through the valve and have had no issues. To make sure there are no fibers or debris left between the valve and the valve core, I rinsed the cores thouroughly and used a water-soaked Q-Tip to clean the mating surfaces in the valves before re-inserting the cores.
Update Ten Months Later
Still very happy with the set-up. Absolutely no issues, the seal is tight, and there is no sealant bleeding anywhere. I had a couple of tire burps when I got a bit too aggressive and side-loaded the front wheel a bit too much. But the burps were quick and did not result in critical loss of pressure.