When looking for a pocket hole jig, I had difficulty choosing between the various versions Kreg offers. On the one hand, I wanted the Mini because it is the smallest jig that can get into tight places, and is very cheap. On the other hand, I wanted the jig to have a nice fence for easy, repeatable pocket holes. I decided to design my own fence system for the Kreg Jig Mini, which, I believe, is more flexible than the fence that comes with the Kreg Jig 320. The fence I designed allows for a greater range of adjustability and features alignment windows for precise positioning of the jig on a drawn pencil line.
Overview and BOM

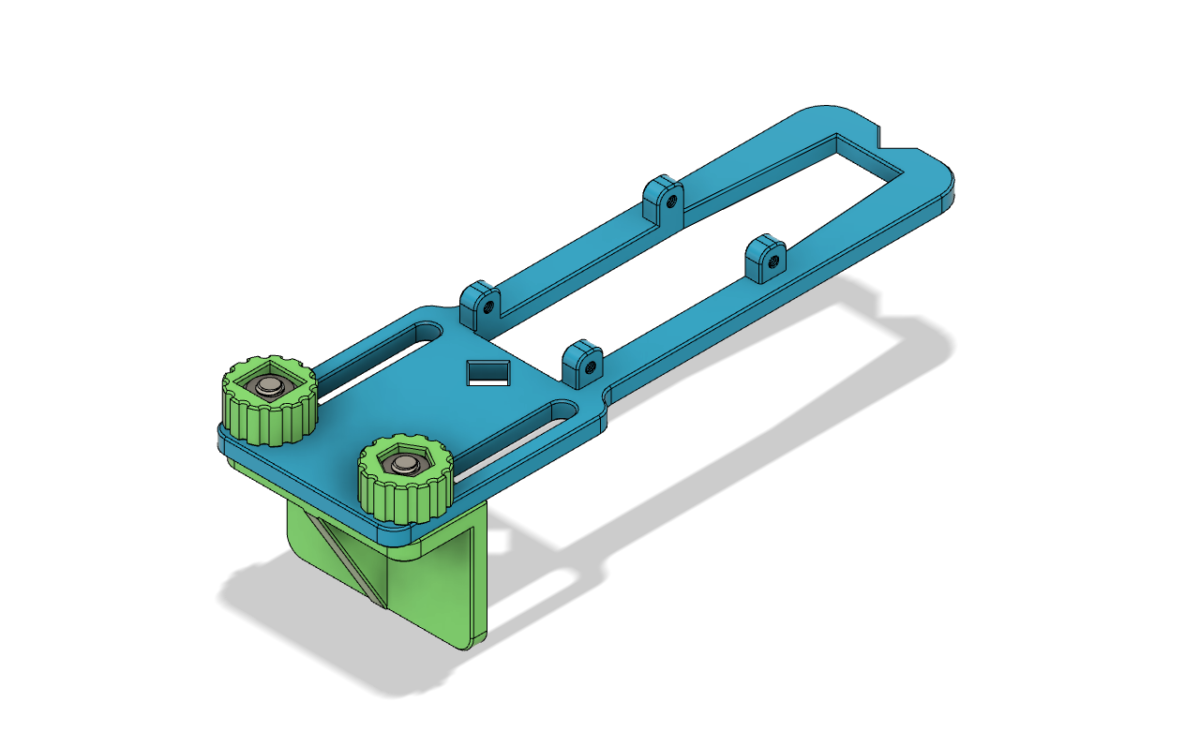
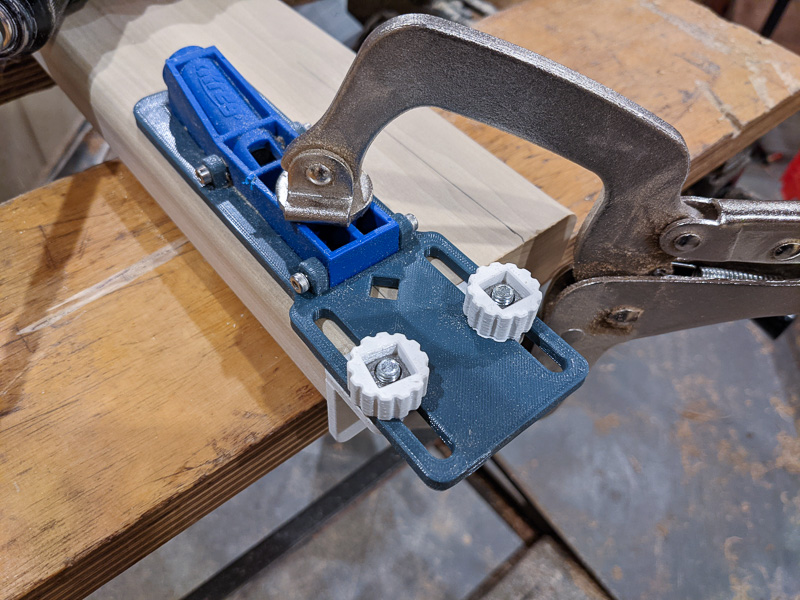
The fence consists of four components – the base, the fence, and two thumb knobs. Required hardware:
- Two 14 mm M6 hex head bolts.
- Two M6 nuts (hex or square).
- Four 8 mm M3 socket head screws or set screws (for a cleaner look).
The design prints without supports. I recommend printing it in PLA.
Design Features
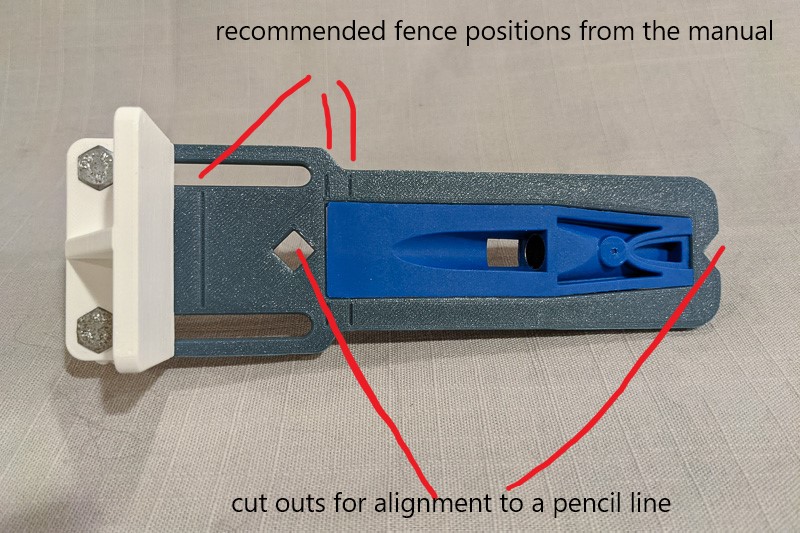
On the underside of the base, there are three lines for fence positions that correspond to the recommendations from the manual for 1/2″, 3/4″ and 1-1/2″ thick material.
There are also two alignment cutouts for positioning the jig against a pencil line drawn on your workpiece.
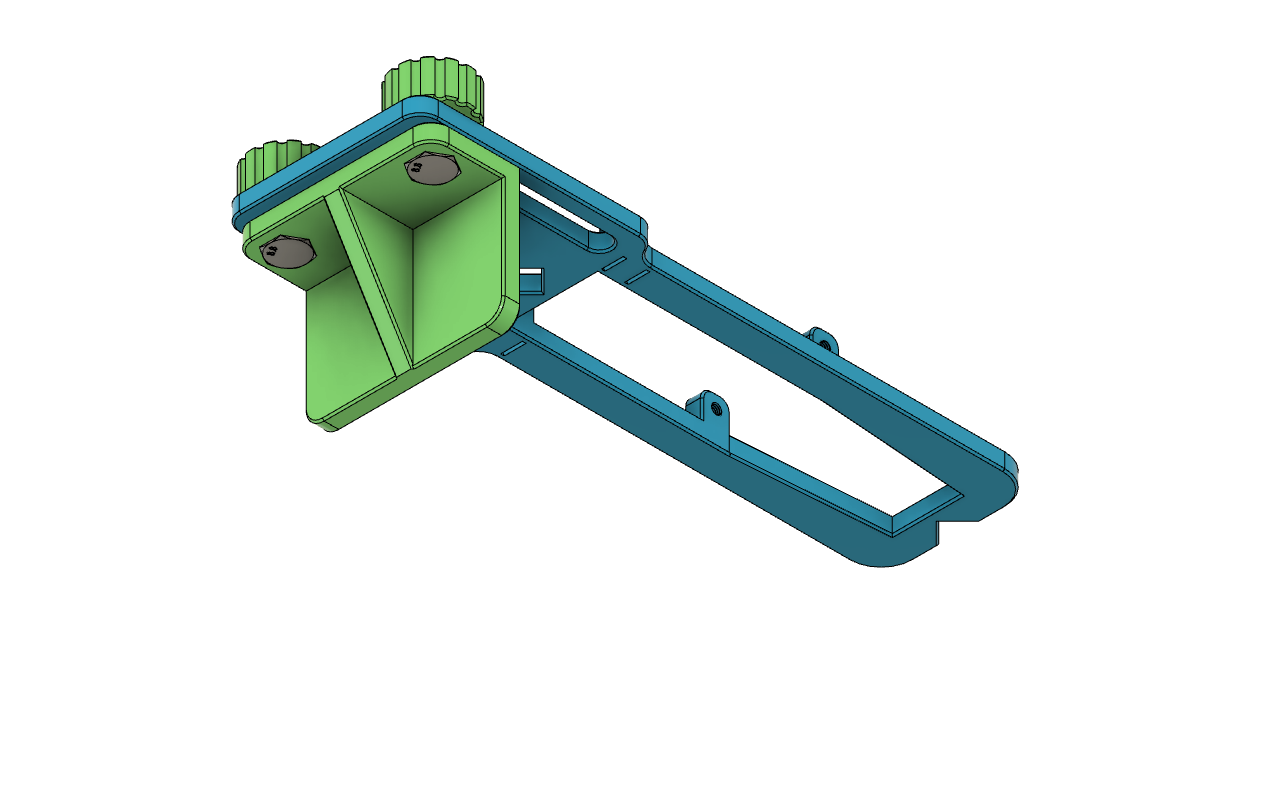
The Kreg Jig Mini is secured into the base by four M3 socket head screws or set screws. I drilled corresponding four holes in the Kreg jig for the screws to register in. Make sure that the Kreg jig protrudes a fraction of a millimeter below the bottom surface of the base. This is important because the jig needs to sit firmly on your workpiece when you clamp it down. If the holes for the side screws are mispositioned, the Kreg jig may be lifted a little bit from the workpiece surface.
I decided against using metal nuts for the side screws. The holes for the M3 screws have printed threads in them. I cleaned them up with an M3 tap. If you don’t have an M3 tap handy, you can simply force the screws into the holes and they will clean up the threads. These screws are only there to hold the jig in the base, and there is hardly any load on them.
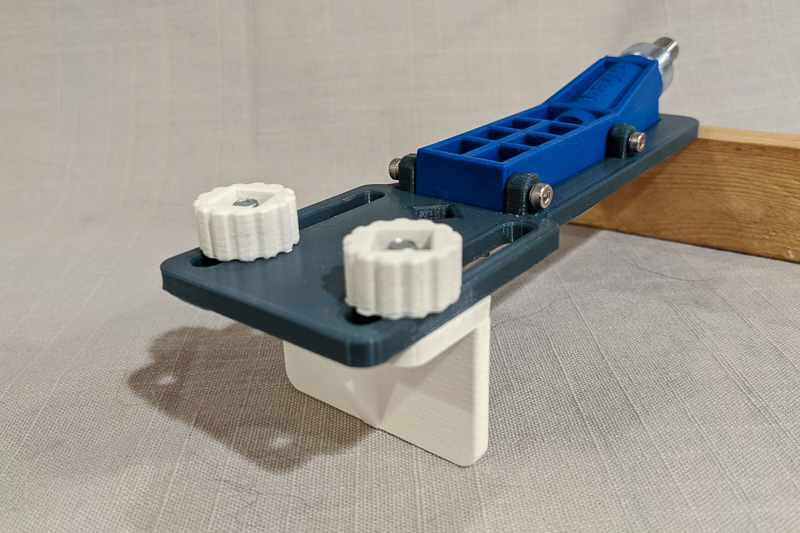
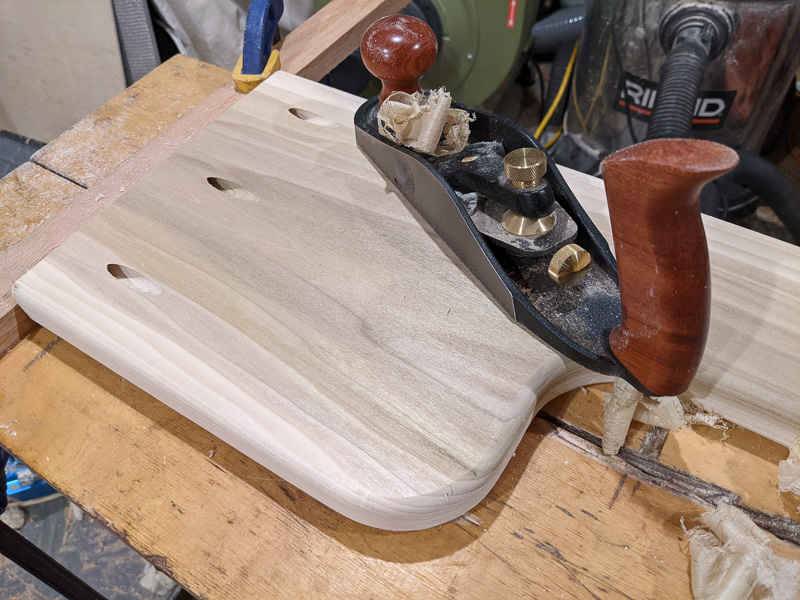
In the above image you can see the fence in use drilling pocket holes in 1-1/4″ thick poplar. Below you can see the resulting pocket holes.
Download the STL and CAD files
The design is released under the Creative Commons Attribution NonCommercial license. Download the zip file with the STL, STEP, and Fusion 360 files below. If you find my design useful, you can buy me a coffee.