I have a pair of Snoqualmie Pass tires on my road bike, set up tubeless. I absolutely love them, but I got a small cut on the sidewall of the rear tire. The tires still have a lot of life in them, and, considering that they are not so cheap to replace, I decided to try repairing the cut.
[Update 4 months down the road – May 2021] The repair is holding just like the day I made it.
A Word of Caution
Repairing sidewall of a tire is generally not recommended. If the cut is too large for the sealant to seal on its own, the usual recommendation is to replace the tire. Use information in this article at your own risk. Make your own judgement to weigh the risks and benefits of the repair. What would be a consequence of a tire failure for you, while riding? If your tire is not so expensive or fairly worn, just replace it. If you ride treacherous MTB trails, replace the tire. If you are repairing a front tire, consider swapping it with your rear tire, as the front tire is more critical safety-wise.
How I Repaired Sidewall Cut On My Tire
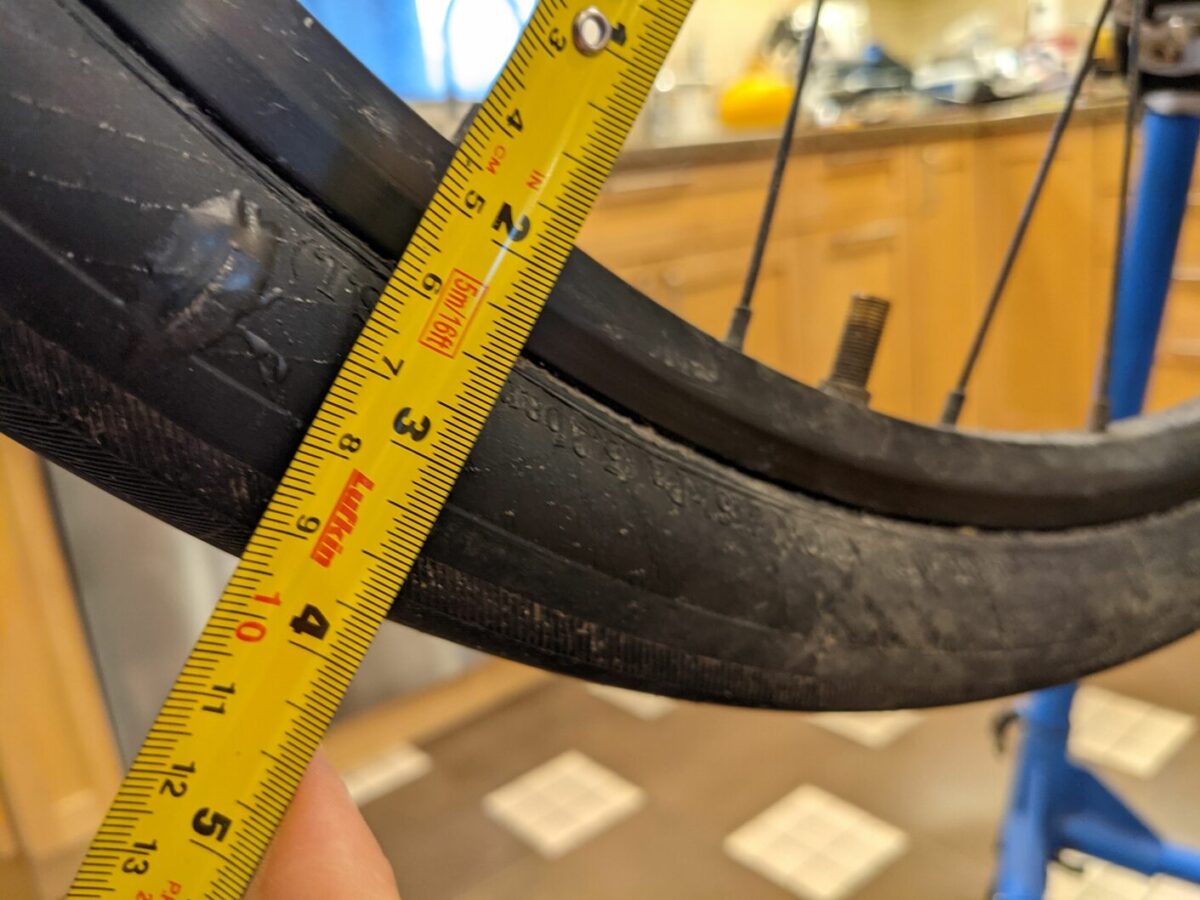
The cut I was reparing was a bout 1 cm long. I did two things to repair the tire:
- Apply a vulcanizing tube patch on the inside. This patch is the main part of the repair, providing most of the strength to the damaged area.
- Cover the outside of the cut with thick polyurethane adhesive, to protect the cut from further abrasion and the elements.

Applying A Patch
It is important to use a quality patch kit. Look for a patch kit with vulcanizing fluid/cement, such as the Park Tool VP-1 or Rema TT-02. Cheaper patch kits are sold with simple contact cement, whereas the vulcanizing kits are two-part systems, in which the contact cement and the patch have additives that activate when the patch is applied. This results in cold vulcanization between the patch and the tube or tire, which is a stronger bond than contact cement can achieve on its own. I used the Park Tool patch kit.
- Choose a patch that will overlap the cut by at least 1cm (1/2 inch).
- Clean the inside of the tire thoroughly. I use Orange Seal as the sealant, and I had to scrub the area around the cut with my thumb until the sealant started to roll off and could be peeled away. I do not recommend using anything abrasive to remove the sealant, as you can damage the sidewall casing even more in the process.
- After I peeled off the film of sealant, I cleaned the area with rubbing alcohol.
- Apply a thin layer of the vulcanizing fluid to the area larger than the patch, and let it dry. It needs to stop being tacky before you proceed to the next step.
- Firmly press the patch over the cut.
- I used a wood clamp to clamp the patch to the tire and left it clamped overnight.
When you remove the clamp, examine the patch carefully. It should be fused into the rubber of the tire, and you should not be able to pick up its edges with your fingernail.
Applying Polyurethane Adhesive
Thick polyurethane adhesives, such as Aquaseal SR or Shoe Goo dry into a film of highly elastic and very tenacious clear rubber. This film is waterproof and air-proof. I decided to use it to seal the cut from the outside, to protect the sidewall casing from further deterioration from abrasion and the elements. I personally have no experience with Shoe Goo, but I heard that it’s very similar to Aquaseal SR. I’ve used AquaSeal SR to repair all sorts of gear, and it is a fantastic product, which I recommend highly.
- Inflate the tire slightly, so that it takes its normal shape.
- Clean the outside of the cut thoroughly with rubbing alcohol.
- Use a cheap brush to apply a film of polyurethane over and around the cut. I formed a film that was approximately 0.5 mm thick. You don’t want the film to be too thin, as it needs to serve as a mechanical protection, but forming it too thick serves no purpose.
- Allow polyurethane to cure for 8-12 hours.
- Tip: you can store an opened tube of polyurethane adhesive in the freezer for more than a year, and reuse many times.
Conclusion
Now inflate the tire to normal pressure and examine the cut. There will be a bit of a bulge around the cut, but it should be fairly small. Inflate the tire to higher pressure and leave for a day or so. Then examine the repair critically. If everything looks stable, go and ride the bike!
I was wondering whether the patch will create a stiff spot in the sidewall. Supple sidewall is the main selling point of my tires, so, theoretically, a stiff spot may make them less enjoyable. However, I cannot feel anything like that when riding. The spot is small, and the patch is flexible enough not to make any difference.
Let me know if you repair your tire using this method.