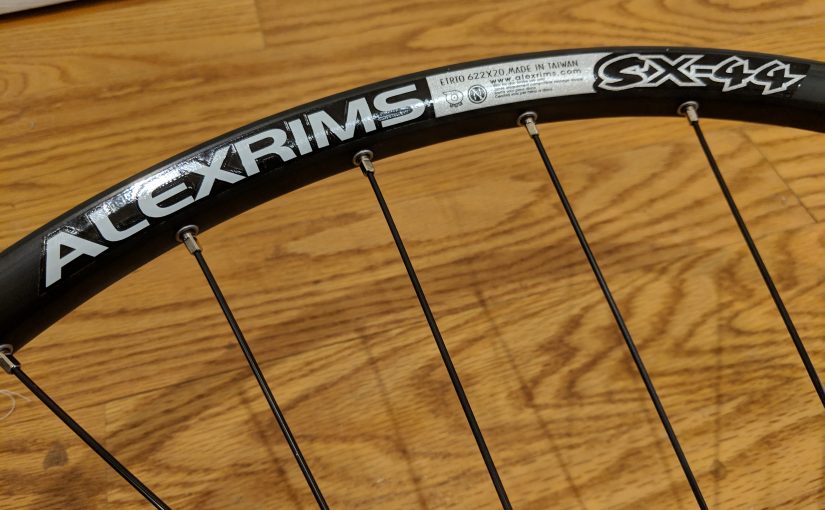
I urgently needed a new rear wheel for my winter bike, and ended up buying an Alex Rims SX-44, the 29″ variant. This is clearly a budget disc brake wheel priced fairly low, but from the description it seemed like a no-nonsense wheel with decent components. My goal was to set this wheel up tubeless with Schwalbe Marathon studded winter tire (HS 396). Below are some facts and thoughts about this wheel.
Spurcycle bell vs. Crane E-Ne
I have had a Spurcycle bell on one of my bikes for almost three years now, and I can’t say enough just how much I like it. It is very loud, built to last forever, and is very compact. I find it that every time I use it I get the attention of the car drivers, even when their car windows are closed. The only negative thing I can say about the Spurcycle bell is that it is very expensive. To the point that I have been planning to get a second one for my other bike, but can’t bring myself to shell out the money. Last week one of my local bike shops was running a sale on Crane bells, and I picked up a Crane E-Ne bell for half the price of a Spurcycle. This post compares the two and includes a video comparison of the two bells ringing side by side.
Making copper tipped chuck retention bolts
My wood lathe has no allowance to lock the chuck on the spindle, and yet that is a very useful feature, which gives you, for example, the ability to sand in reverse rotation. The spindle is threaded all the way to the shoulder. My chuck is a OneWay Stronghold, and its spindle adapter has two M8 threaded holes for securing it on a spindle with grub screws. The problem is that steel grub screws would damage the threaded spindle when tightened.
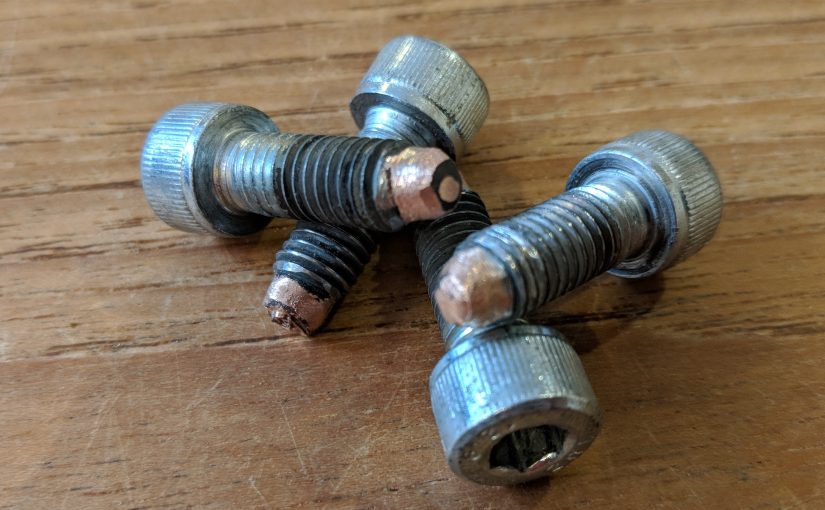
I thought I would make copper-tipped steel bolts that could be adequately tightened without the danger of damaging the spindle thread. I already had some M8 socket head bolts, and figured that I could TIG braze a piece of copper on their tips. I found it impossible to do because the copper piece melts before the silicon bronze filler. Copper’s melting point is just 1080°C, while ERCUSi filler melts at around 1800°C.
Then I tried a different approach, and it worked very well. I first “tinned” the tip of the screw using the silicon bronze filler, and then, while maintaining the silicon bronze puddle, switched the filler to copper wire (I used gauge 12 single strand electrical wire). The copper flowed very nicely into the silicon bronze puddle, and I was able to build up a big blob of copper on the tip of the bolt this way.
I used 30A DC Pulse setting, with 33 pps, 33% on time, 33% background, as recommended by Jody Collier. I held the bolt in vise grips and built a dam around with aluminum foil, to keep the shielding gas around the piece.
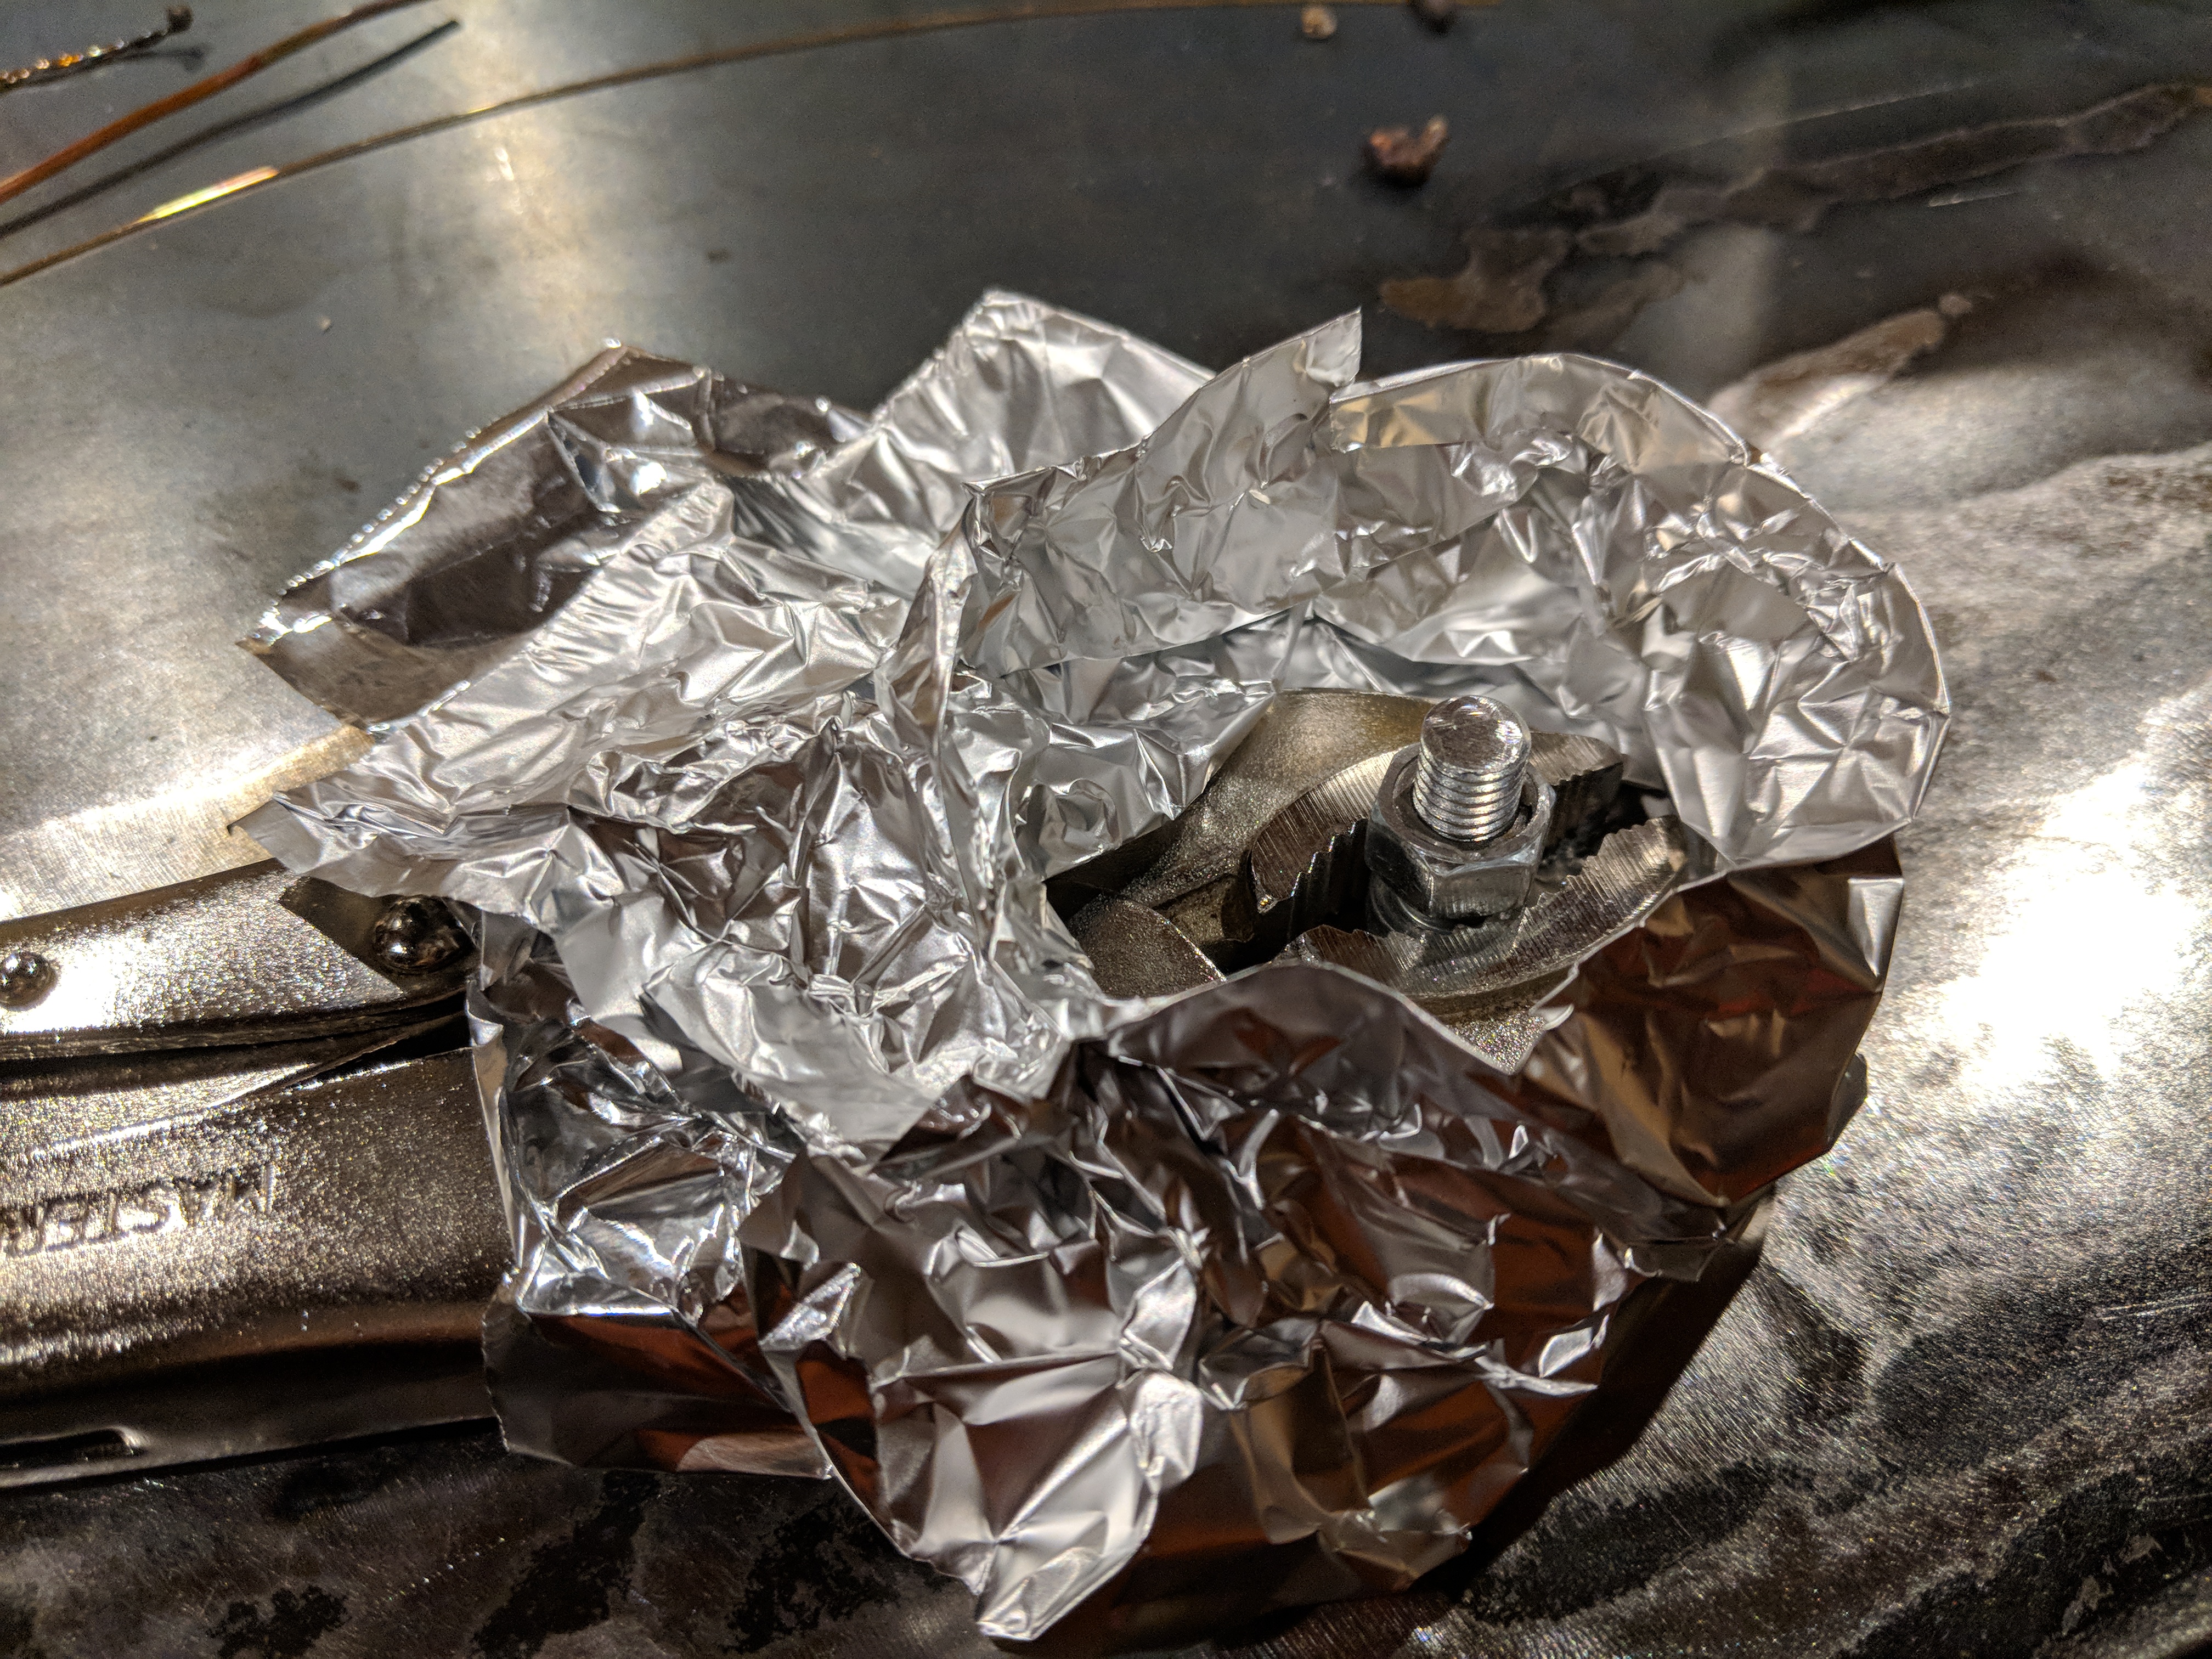
I threaded a nut around the bolt before brazing the tip on, so that it would be easier to grind the blob down, knowing that it does not impede the threading.
I am quite pleased with the results. I wonder how long it will take for the copper tips to be worn off. Building the copper up again should be fairly easy, when the do wear off.
Shimano SLX (M7000) and XT (M8000) single cranks are exactly the same as double
I got an M7000 SLX single crankset for my Krampus, and was surprised to see that it has a second set of chainring mounting holes. Did they sell me a double crank instead of the single? I was perplexed and unsure whether I should return the crankset, so I set out to find out the truth.
A case against spoke protectors
There is a lot of dislike among cyclists for spoke protectors. They (the protectors) look ugly and many think that they are only necessary if you don’t know how to adjust your rear derailer properly. I know how to adjust the rear derailer, but on one of my bikes, for whatever reason, the chain jumped off the big sprocket and into the spokes. After replacing 6 spokes because of that incident, I have been firmly in the minority that favours spoke protectors. However, today I observed something that made me want to remove spoke protectors from all my bikes. Strangely, I have not encountered this argument against spoke protectors before, so I decided to type this up.
Rabbit Hole and WTB Ranger 3.0 tires tubeless setup

I took a stab at a tubeless set-up for my Krampus wheels. Here is what I used:
- Surly Rabbit Hole rims
- WTB Ranger 3.0″ tires (fast casing)
- Surly woven nylon rim strip
- Gorilla tape
- Stan’s Schrader valves
- Stan’s Race sealant
- Park Tool VC-1 valve core removal tool
- Sprayer bottle with soapy water
- A 3 gallon air compressor
Baofeng UV-9R User’s Manual
I could not find an electronic version of the User’s Manual for Baofeng UV-9R radio, so I have scanned the manual that came with my unit.
p.s. To the people requesting manuals in different languages, I am sorry, but I have no connections with the manufacturer. I simply scanned the manual that came with my unit, so I cannot help you with other versions of the manual.
Programming Baofeng UV-9R through communication cable
I bought a couple of Baofeng UV-9R radios with a computer communication cable, but I could not find instructions on how to program the radios from a computer. It took me some time to figure it out, and here is a summary. There are two ways to connect to the radio.
Elm and stainless steel espresso tamper
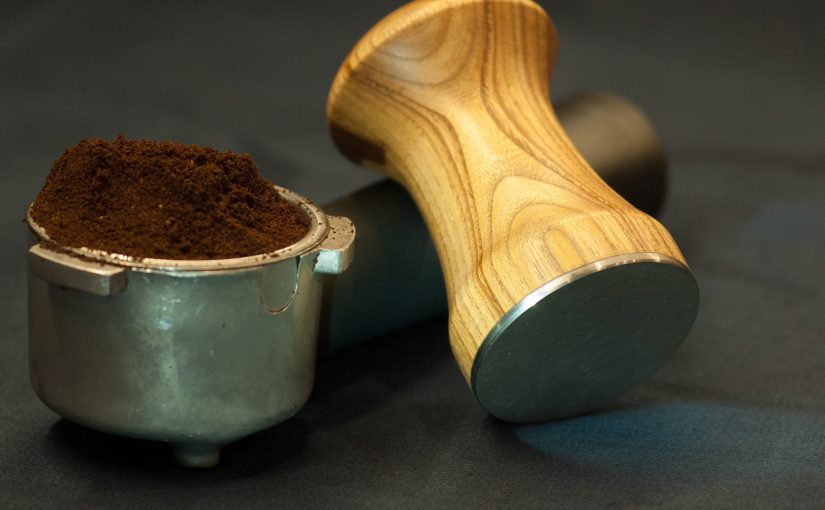
My espresso machine came with a lovely plastic tamper, that looked like this:
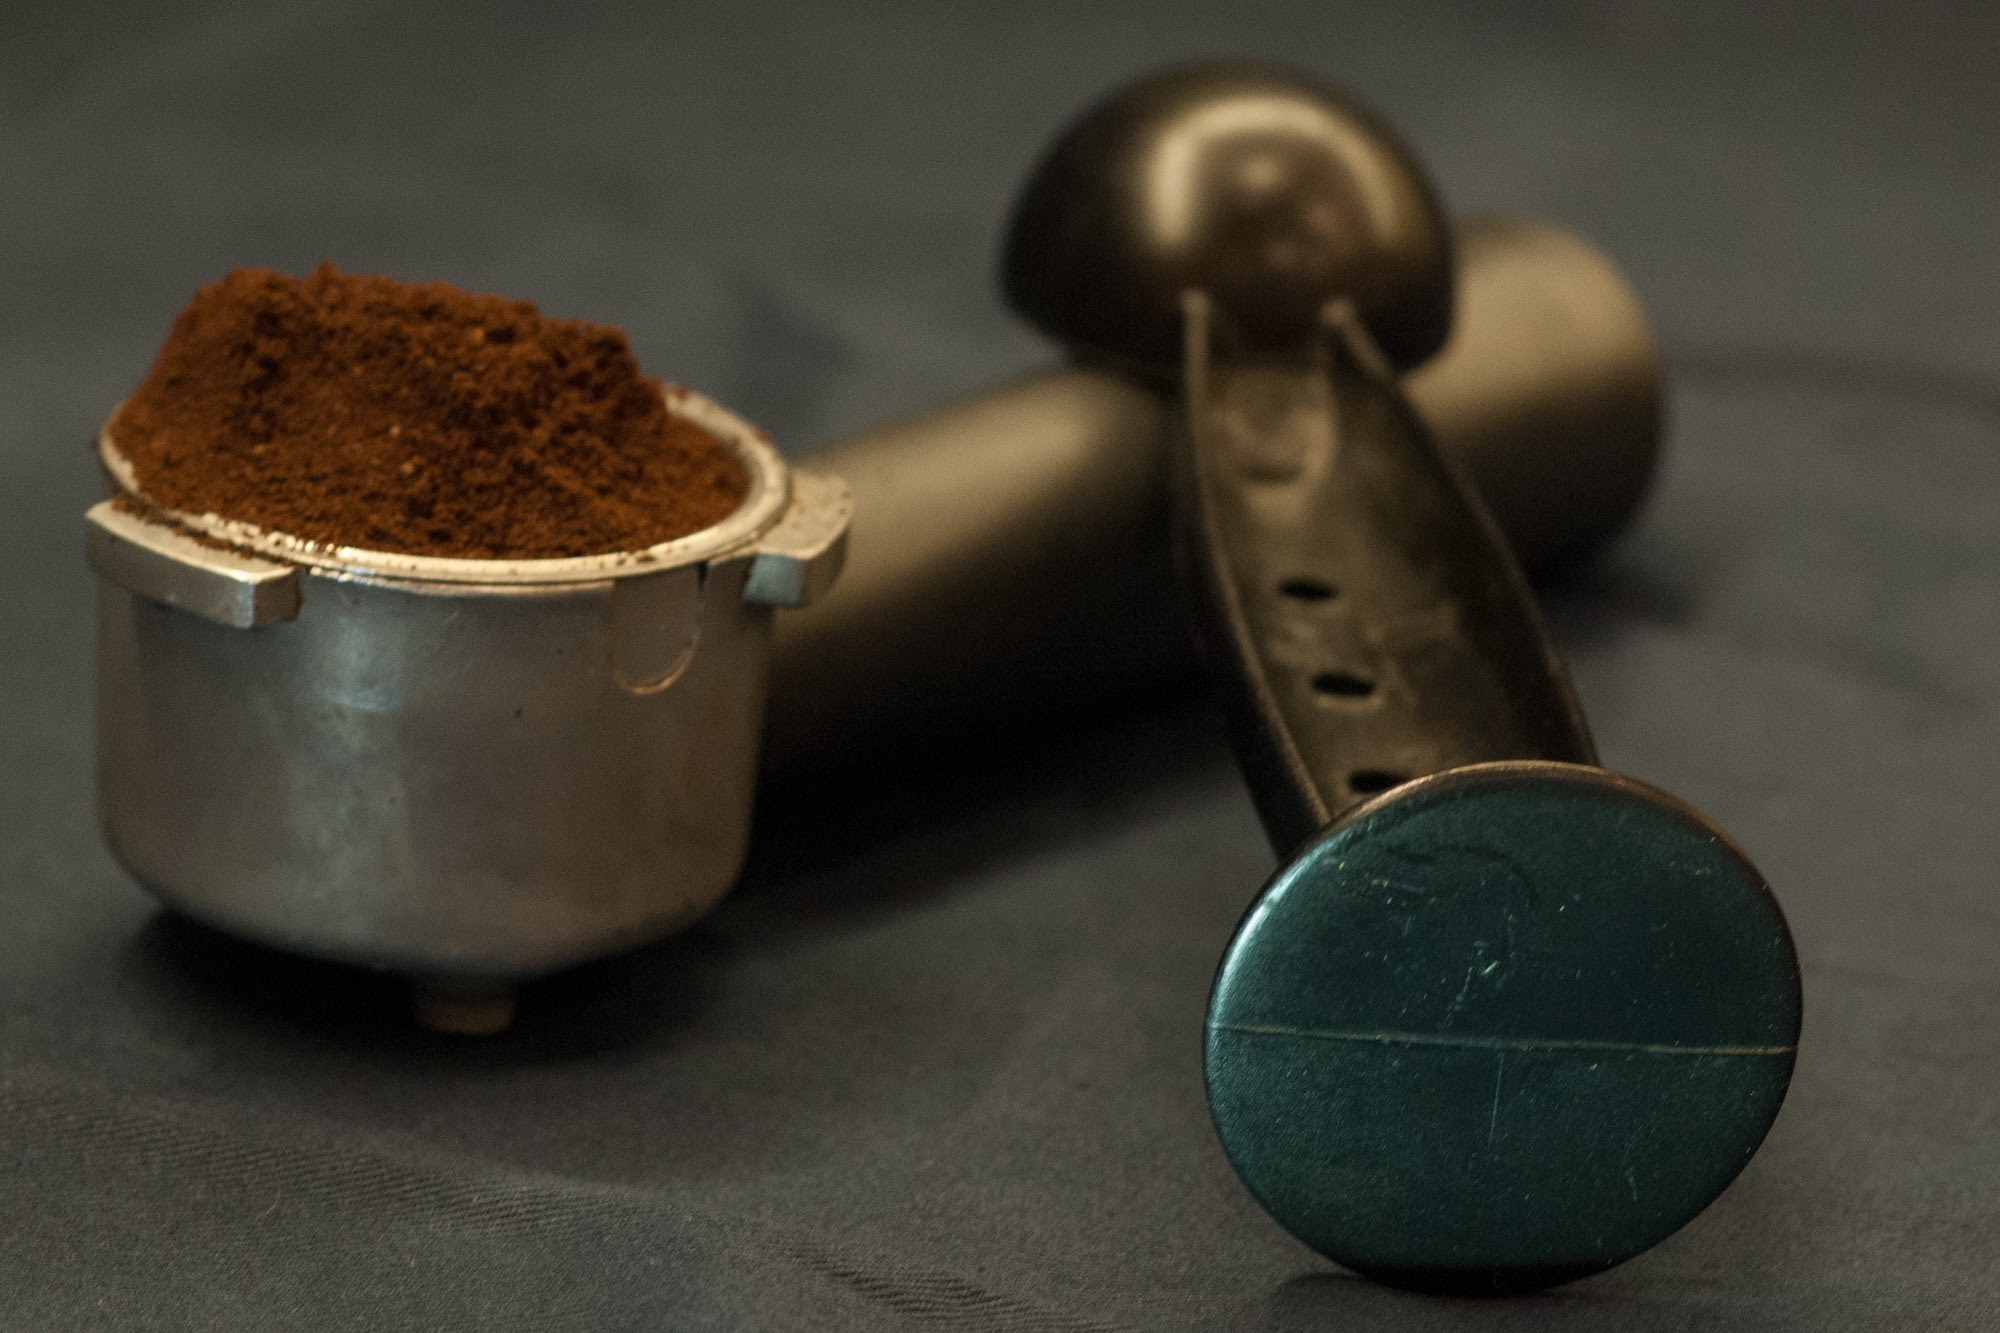
I am not all that picky aesthetically speaking, but that tamper is absolutely ugly and does not fit the cup snugly enough. Its outer diameter is about 1/4″ smaller than the inner diameter of the espresso reservoir. I thought that making a new tamper would make an interesting turning project. Then I thought that the business end of the tamper had better be metal.
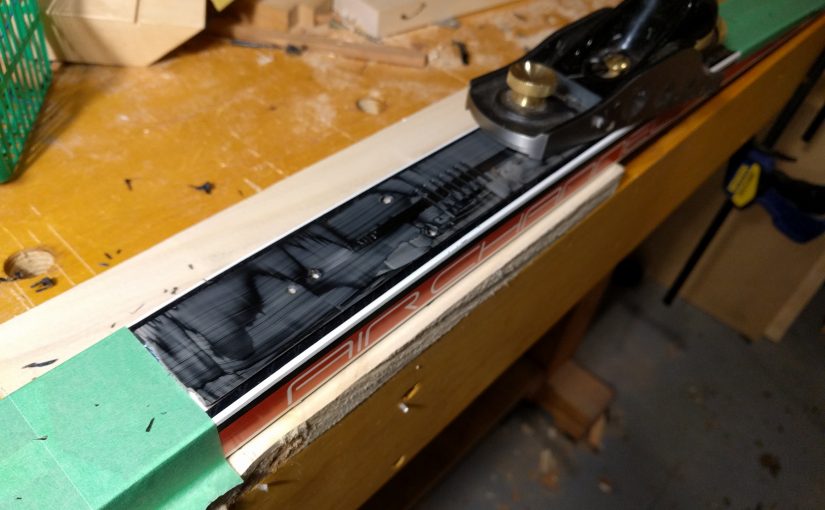
Removing NIS plate to install SNS binding
My Salomon ski boots fit me much better than any NNN boot I tried. But these days half the skis on the market (if not more) are sold with NIS plates, which makes installing SNS bindings a bit cumbersome. Having tried some Atomic and Salomon skis, I decided that I like a particular model of Fischer skis better, but the NIS plate on them bugged the OCD part of me, which wanted to not have the stupid unnecessary plates. Contemplating this, I saw a Youtube video (in Russian language) of a guy removing the NIS plates from a pair of skis using a hand plane. Being a woodworker, I could not pass the opportunity to use my hand planes AND satisfy the OCD part of me at the same time, so I set out to remove the plate. Spoiler: I would probably not do it again.