I designed a thread stand to be used with thread cones and cross-wound thread spools (for sewing machines that don’t have horizontal spool pins). To make the stand a bit more substantial, the base can be filled with something heavy, like sand, lead shot, or bearing balls. The conical spool cap has two diameters: wider for bigger spools, and narrower for smaller ones. To make it you need a 3D printer, some glue, and 12-gauge steel wire for the center pin and the arm.
Why Use a Thread Stand
Cross-wound spools of thread, be it cones or cylinders, are designed for the thread to be removed over the top. If you, instead, put them on a vertical spool pin, and unwind the thread from the side (with the spool/cone rotating), that would lead to the thread winding up before it reaches the needle. This makes it harder to achieve the perfect stitch that everyone is after. The only thread spools that should be used with vertical spool pins are the parallel-wound kind.
Some sewing machines have a horizontal spool pin, which can be used with cross-wound spools. But many don’t. Additionally, thread cones usually don’t mount nicely onto horizontal spool pins. Cones are designed to stand vertically. So, chances are, you need a thread stand.
Design Ideas

I looked at various commercial thread stands, and, most of them are a flimsy piece of plastic with a wire arm. I wanted a stand that would feel more substantial. So I decided to make one with a hollow base that can be filled with something heavy, such as sand or lead shot.
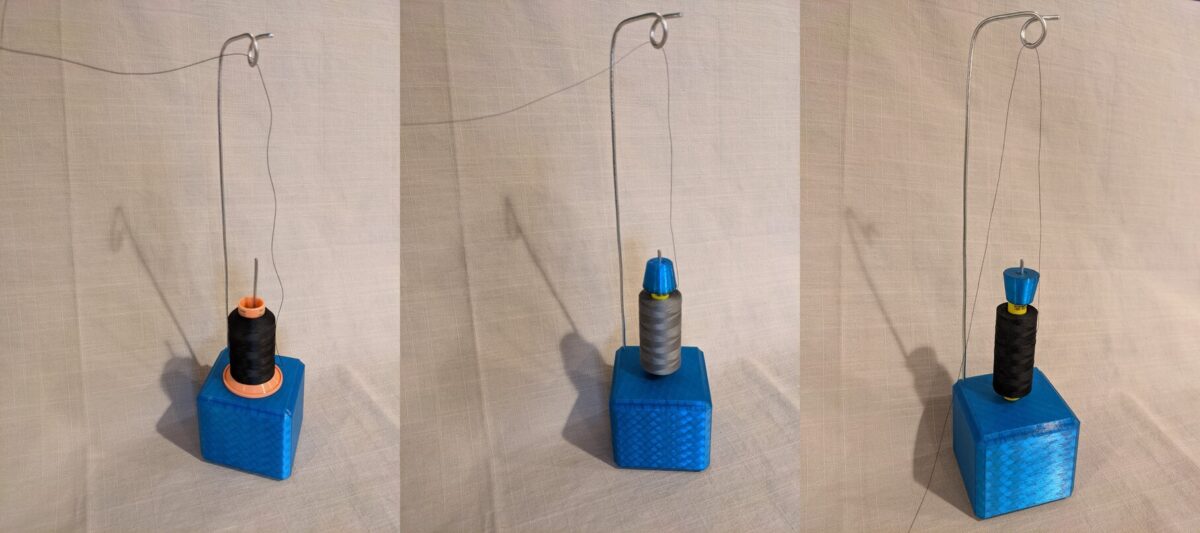
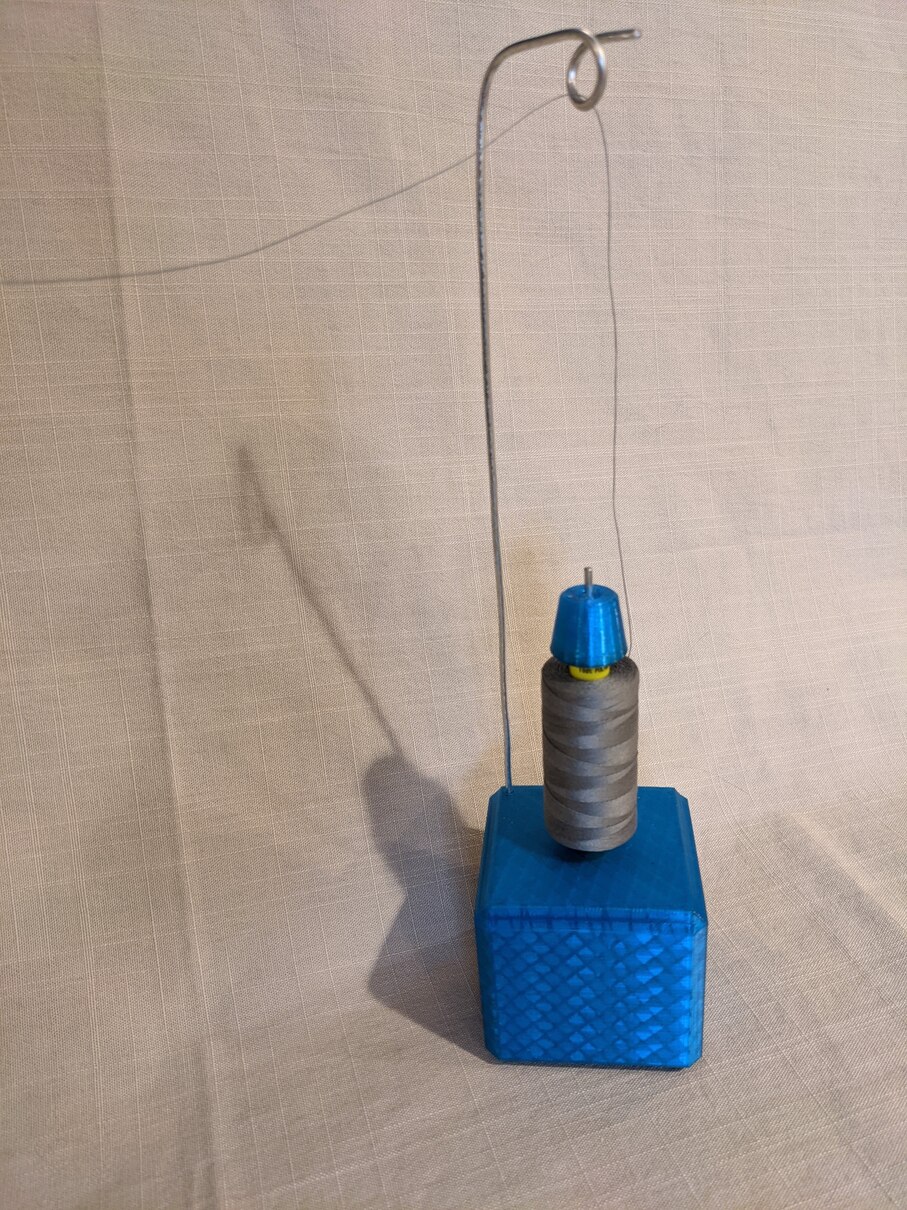
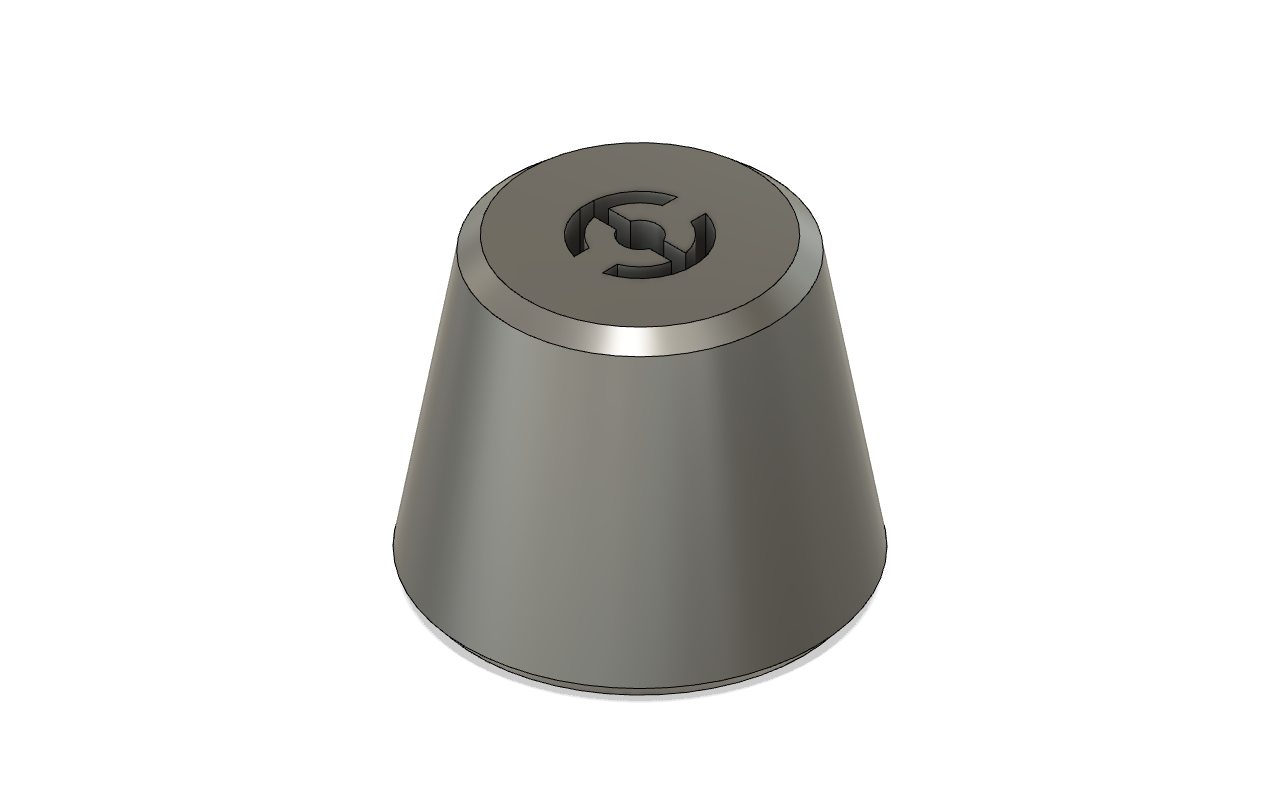
Additionally, I wanted a stand that would work equally well vith cones and cylindric thread spools. The cylindric spools won’t sit straight on a horizontal surface. They need to be supported with a cap, which holds the spool in place, prevents it from rotating, and guides the thread away from the spool. So, I designed a friction-fit thread cap.
The thread stand can take thread cones up to 75 mm (3″) diameter at the base, and spools up to 9 cm (3-1/2″) tall.
The Thread Stand
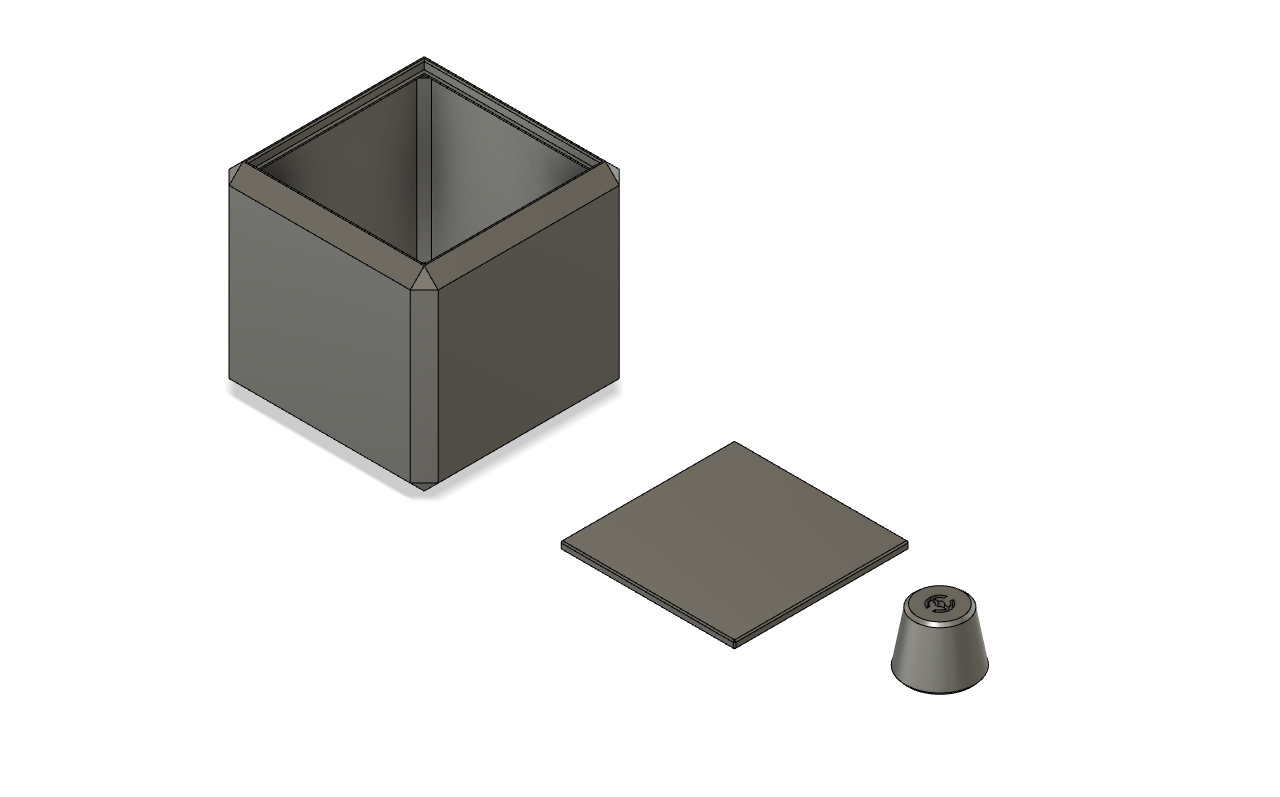
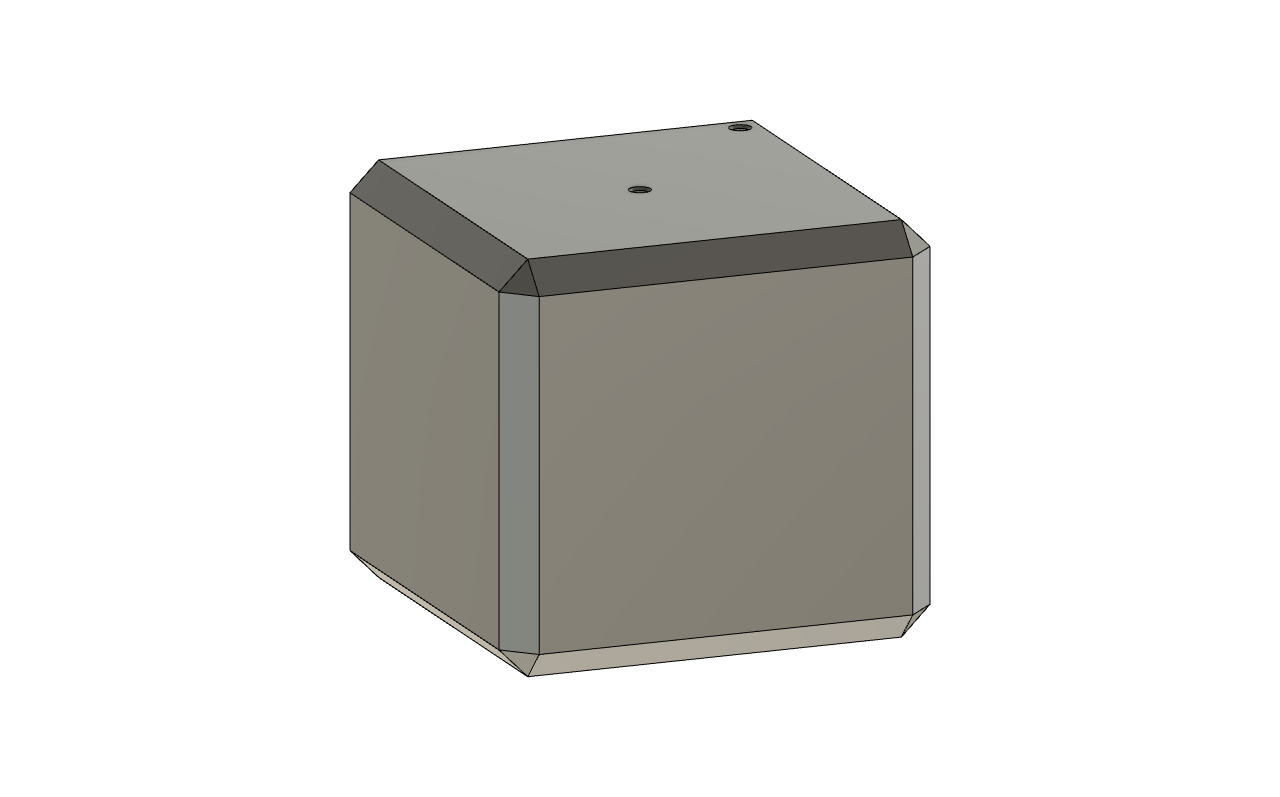

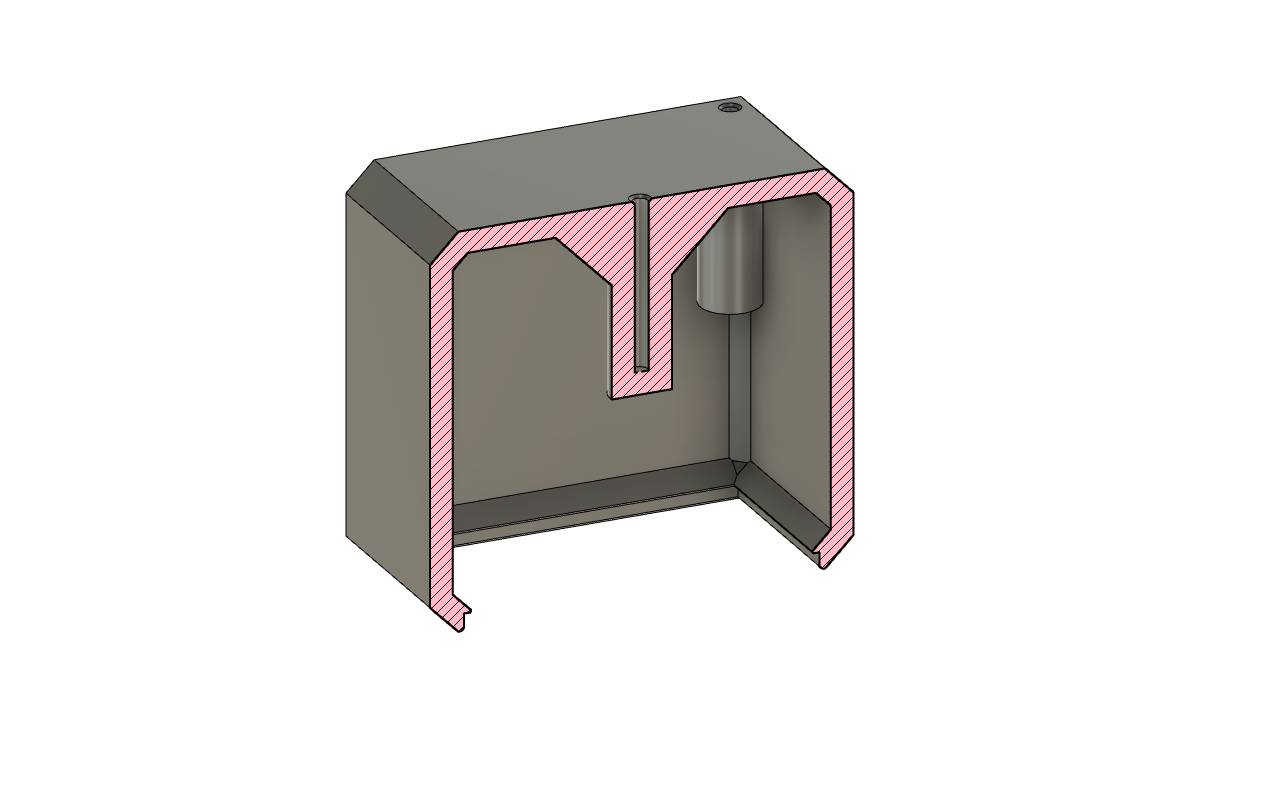


You need to print three parts – the body, the lid, and the cap. The body best printed upside down – this way it does not require any supports. The wire parts are inserted into sockets. The sockets are inset into the body by 30 mm for more friction and structural rigidity.
Fill the body of the stand with sand or any other material of your choice, and glue the lid into the recess in the bottom. I used sand and CA glue. The stand in the pictures is made with the ERYONE Transparent Blue PETG filament.
Make sure that the spool cap is very smooth all around. Even a small barb of filament can catch the thread when sewing.
The Wire Parts
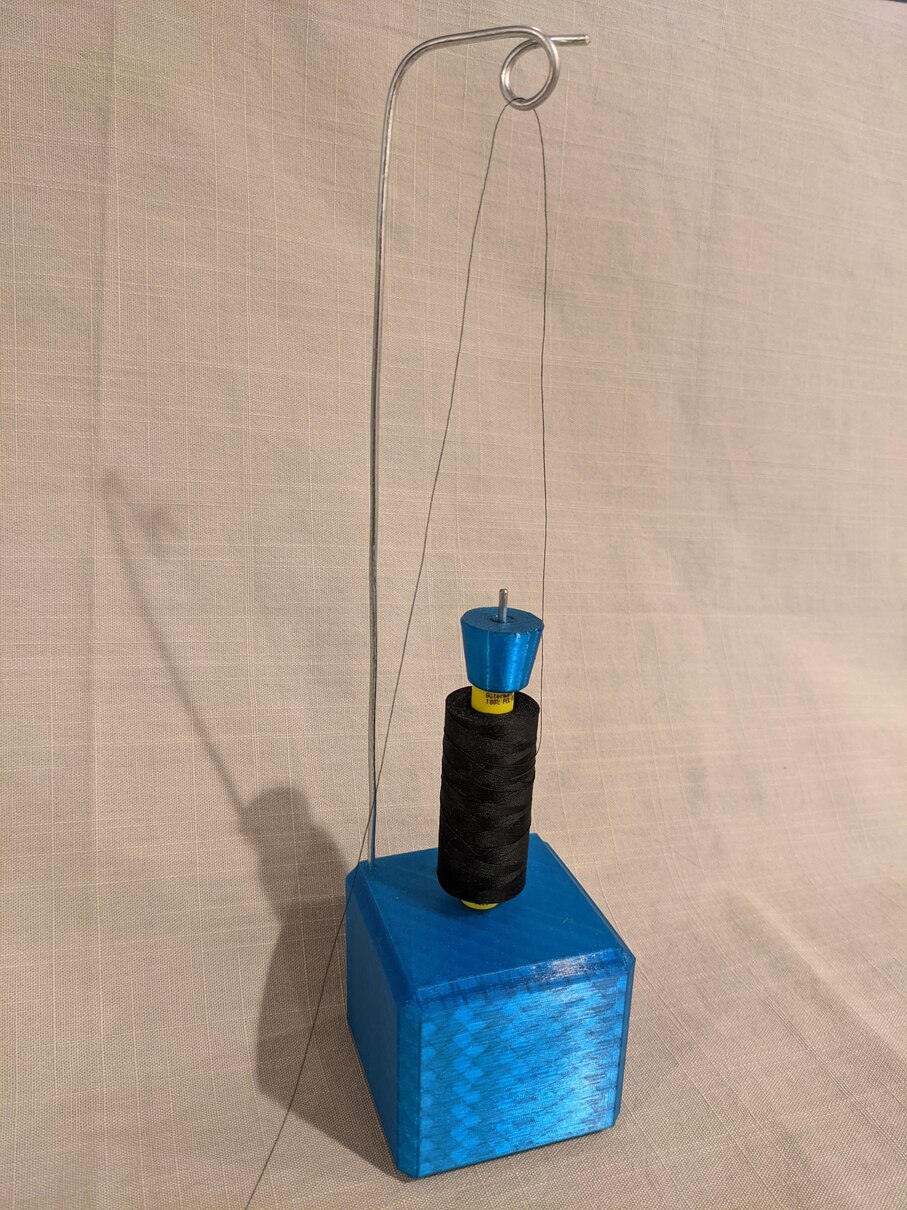
I had some 12-gauge galvanized steel wire (roughly 2.6 mm diameter) lying around, so that’s what I used to make the wire parts. When cutting the wire don’t forget to account for 30 mm (1-1/4″) for inserting it into the base. The center pin stands 10cm (4″) tall above the base surface. The arm is 25 cm (10″) high, and the eyelet is dead above the center pin. To form the eyelet wind the wire around a dowel or a metal rod.
You want the eyelet to be slightly above the top of your sewing machine. My sewing machines are mounted in cabinets. For free standing sewing machines you may want to make the arm taller.
The fit of the wire into the sockets in the base is very tight. It holds well without glue, but if you want, feel free to apply a drop of CA glue before inserting the wire. I had to turn the wire constantly when inserting into the base.
STL, STEP and Fusion 360 files
The design is released under the Creative Commons Attribution NonCommercial license. Design files and STL models can be downloaded below. If you find my design useful, you can buy me a coffee.
This design on Prusa Printers.