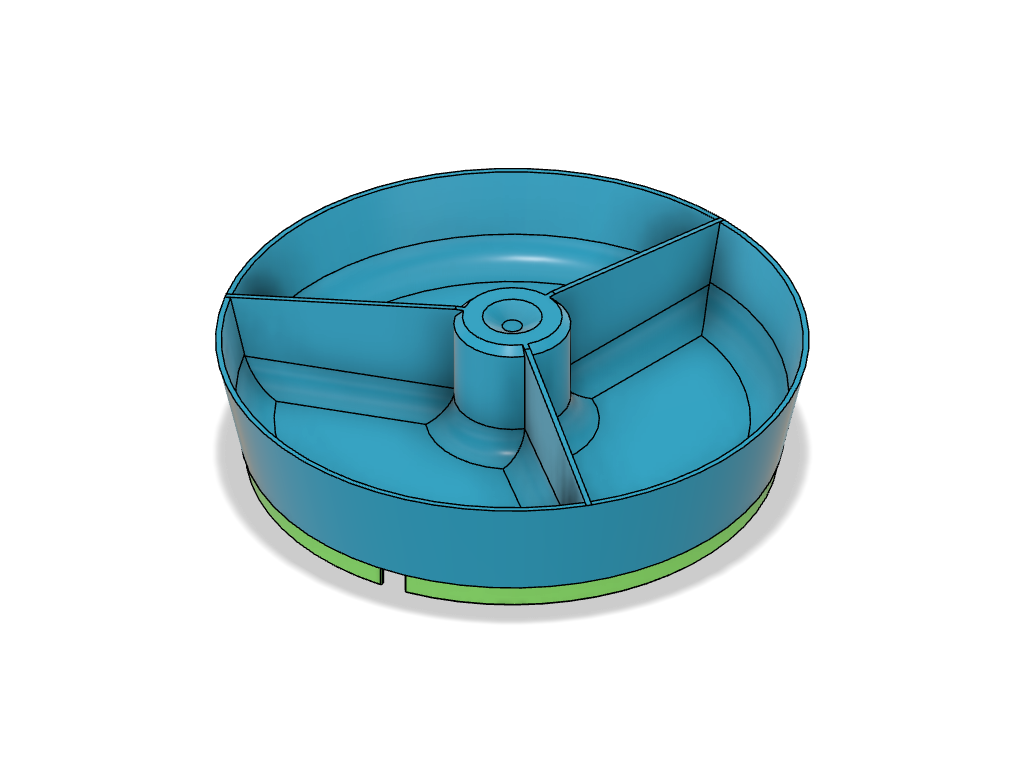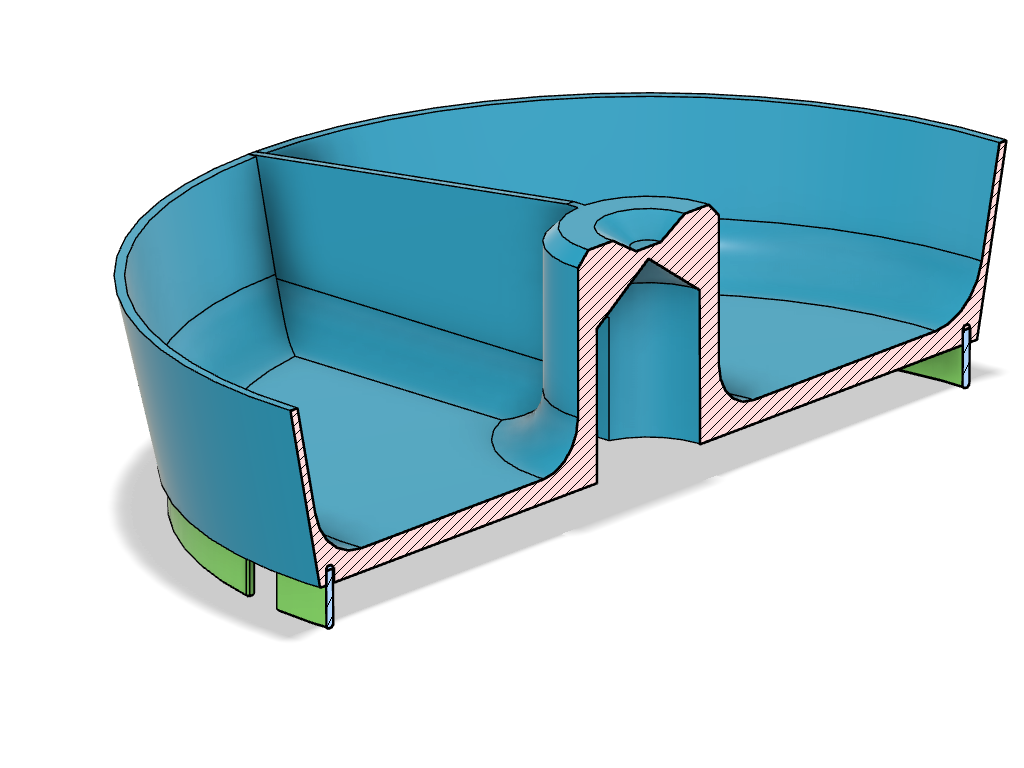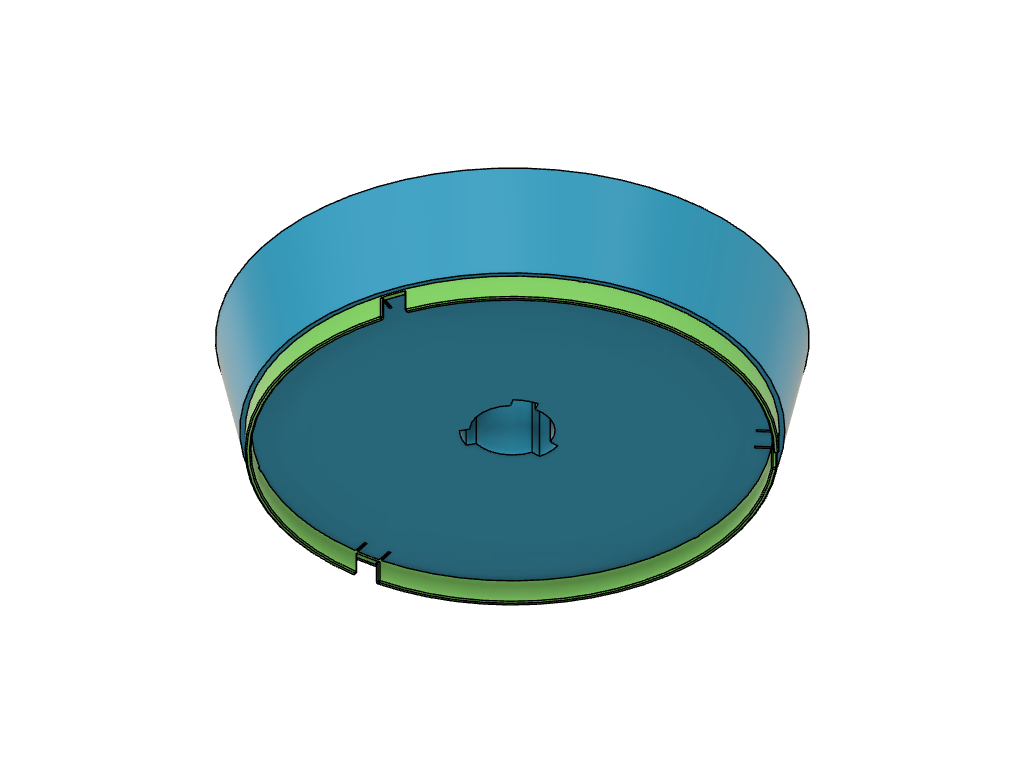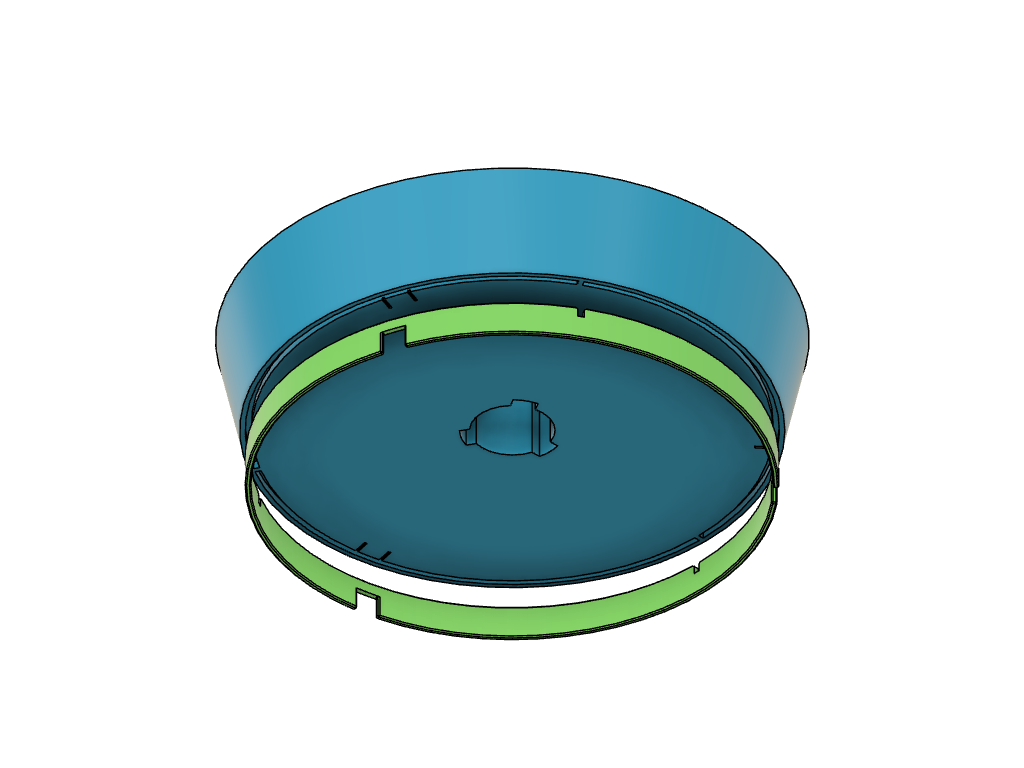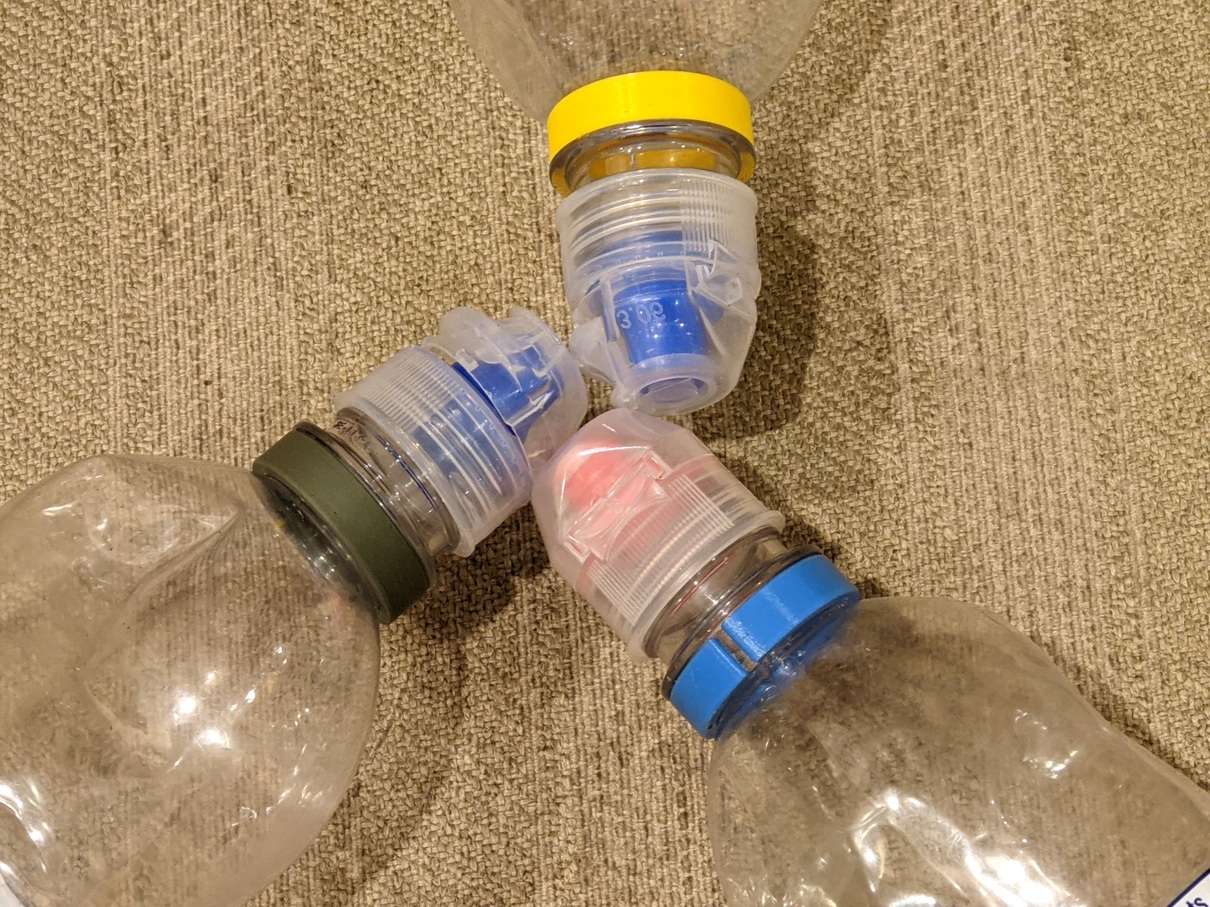
At some point, my cat figured out that she can wake me up in the morning to get food quicker. Every day thereafter, I had to get up at 6AM to feed her. I bought the Cat Mate C300 automatic feeder to address this problem, and it worked really well. Now my cat gets her food at 6AM and does not bother me about it. The only issue with the feeder is that there is no way to buy a second bowl for it. This is a problem, because I prefer to run my dishwasher overnight, and the only bowl is in the cat feeder at that time, so I can not throw it into the dishwasher.
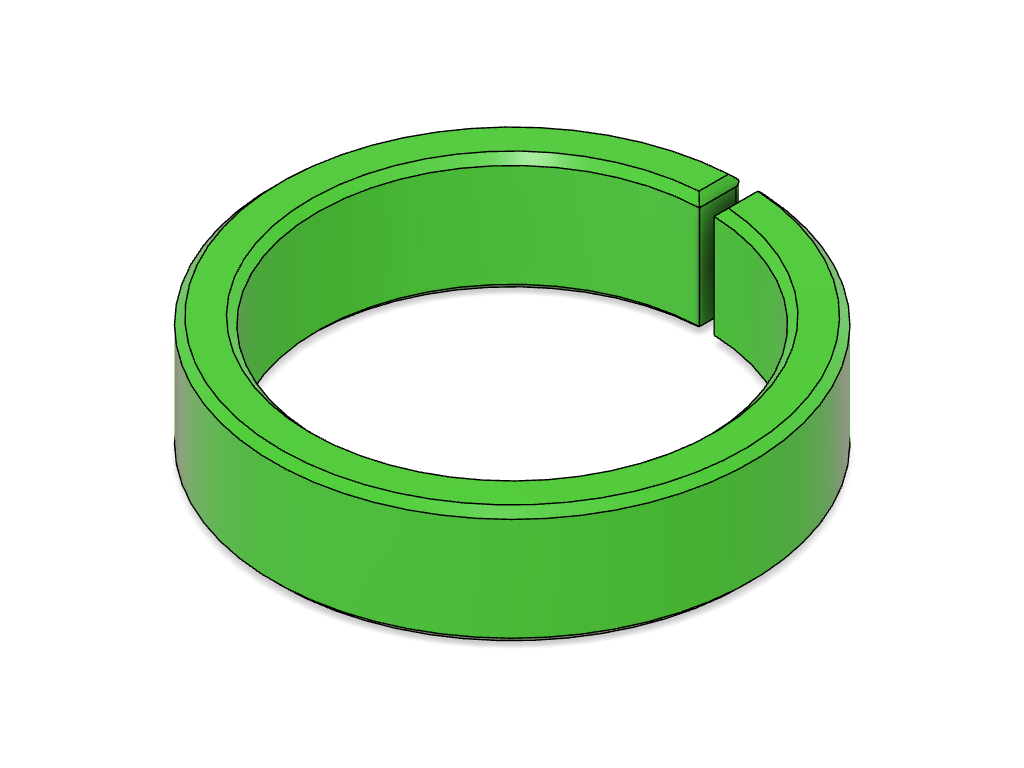
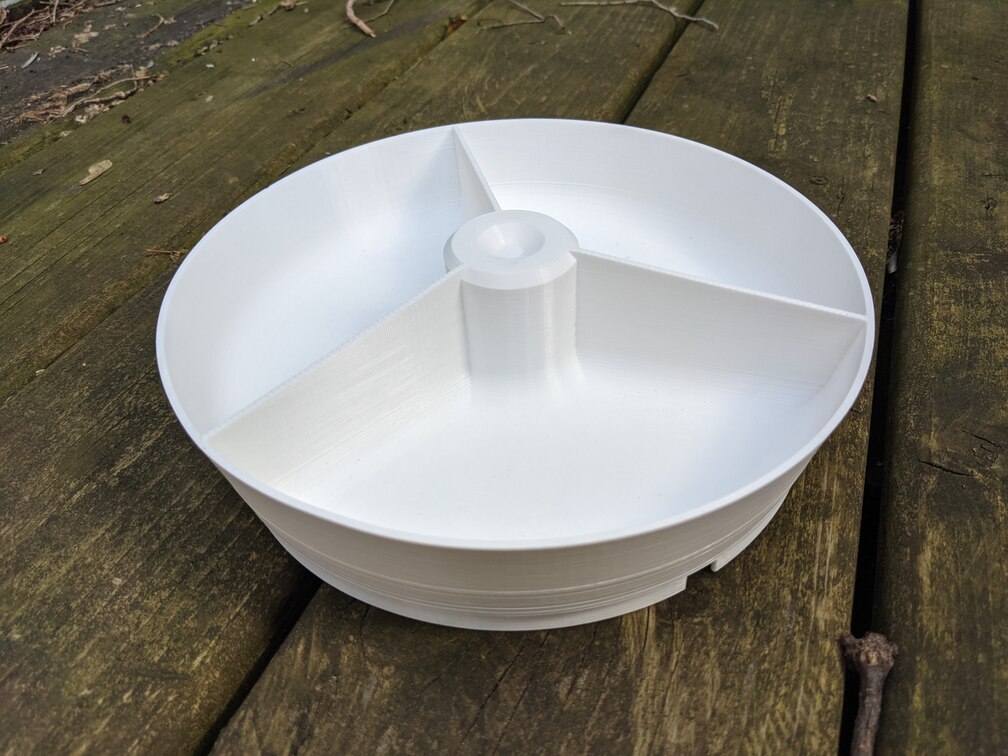
Since there was no way to buy a spare dish/bowl for the feeder, I designed and 3D printed one. It works great, and I hope that it can be useful for somebody else, too.